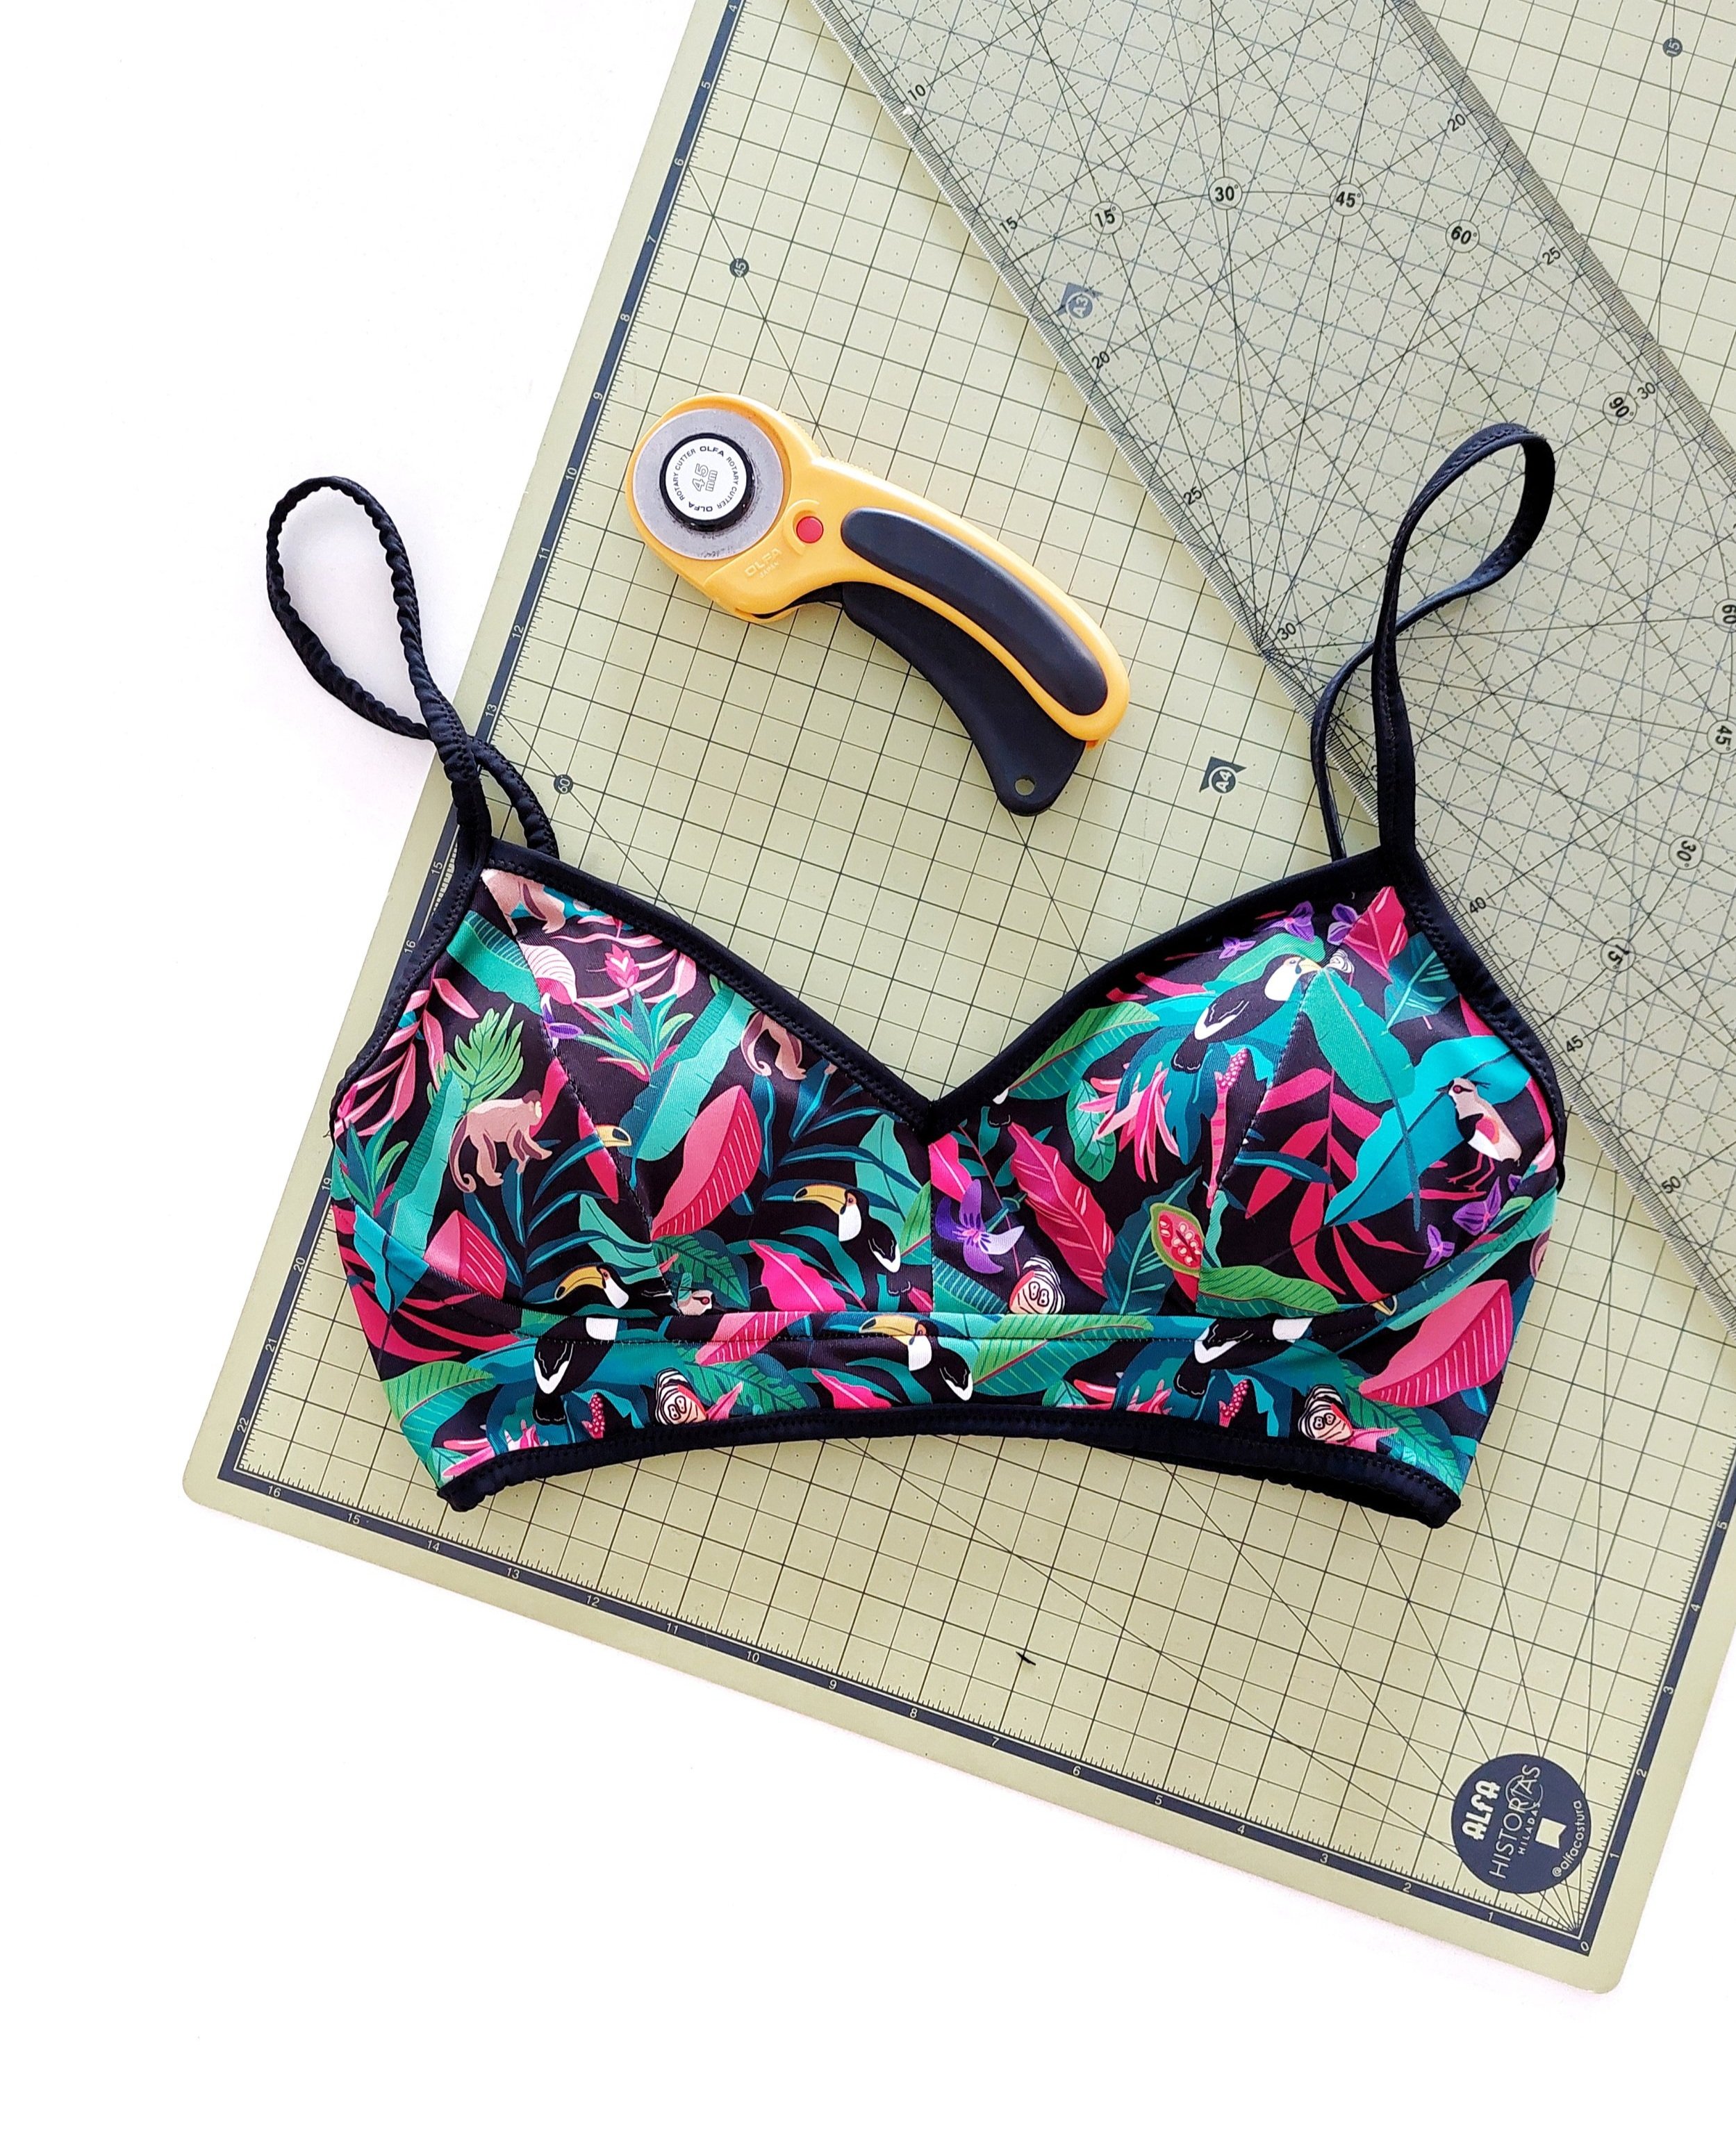
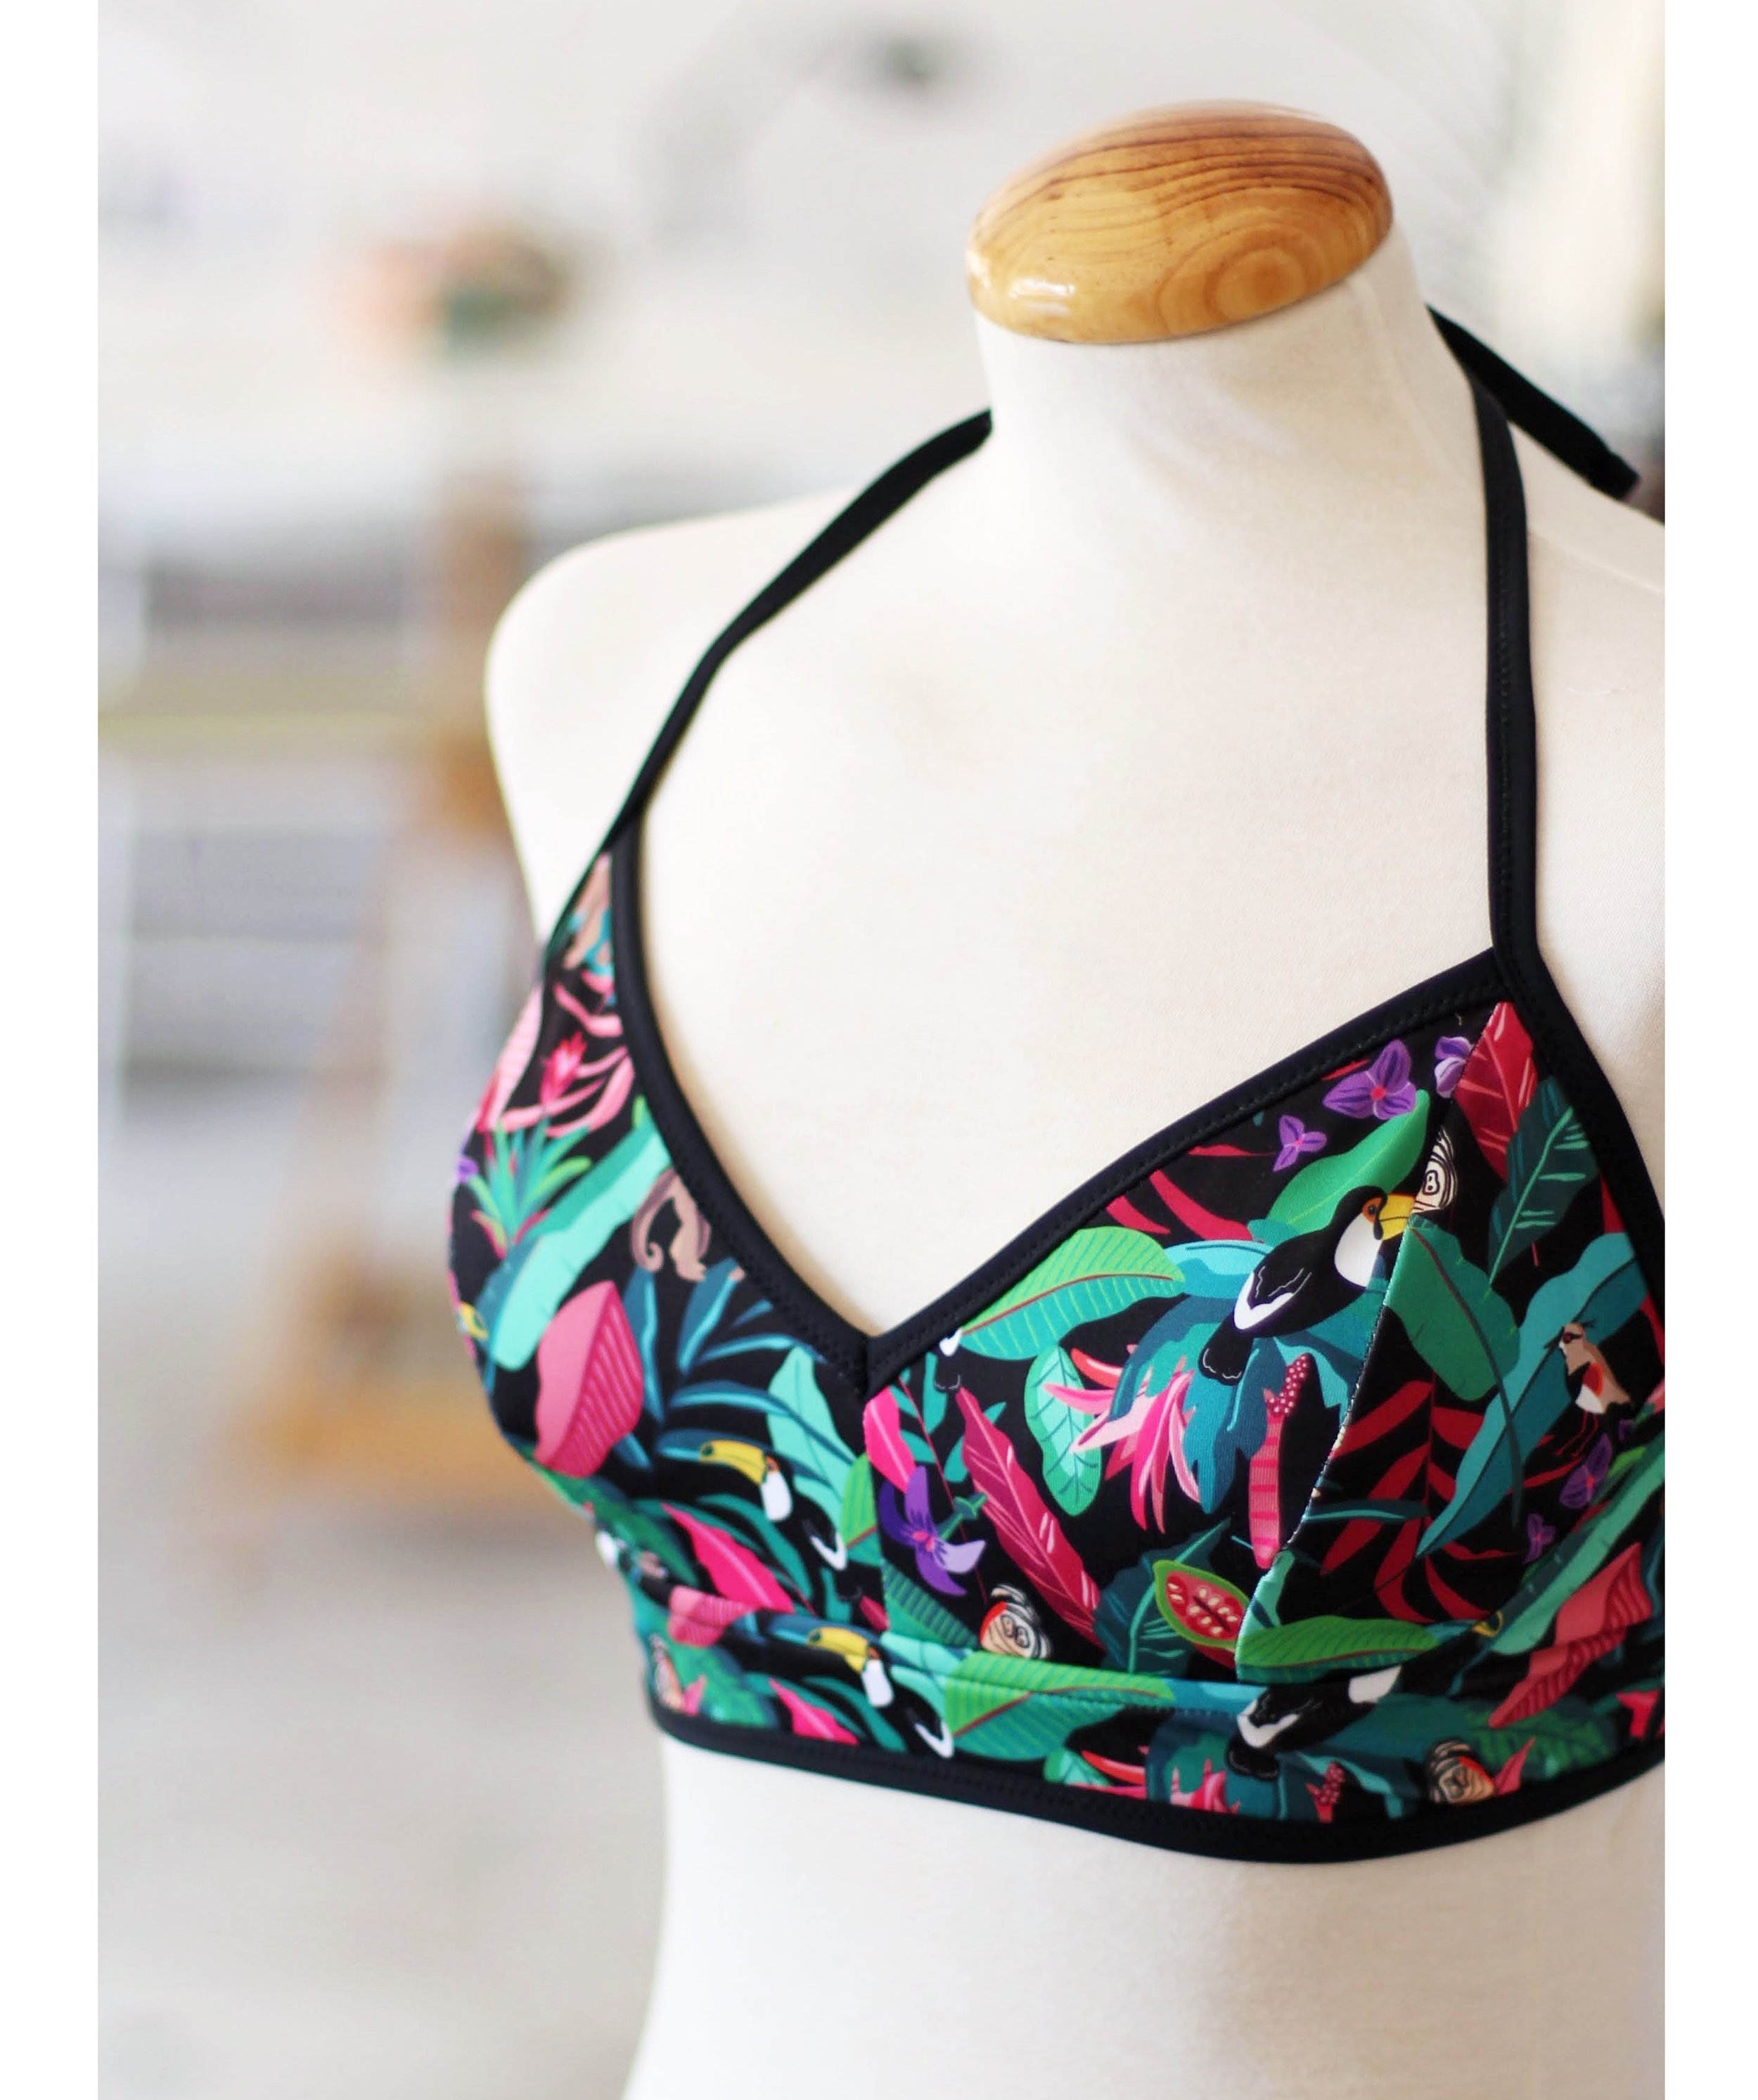
Fans of the Mara bralette, this tutorial is for you! What about making a supportive bikini top using the same pattern you already use for your pretty bralettes? Here we go with this easy modification that has endless customization opportunities. You can also check out my post about where to find the supplies to sew your swimwear if it’s the first time you’re sewing something like this.
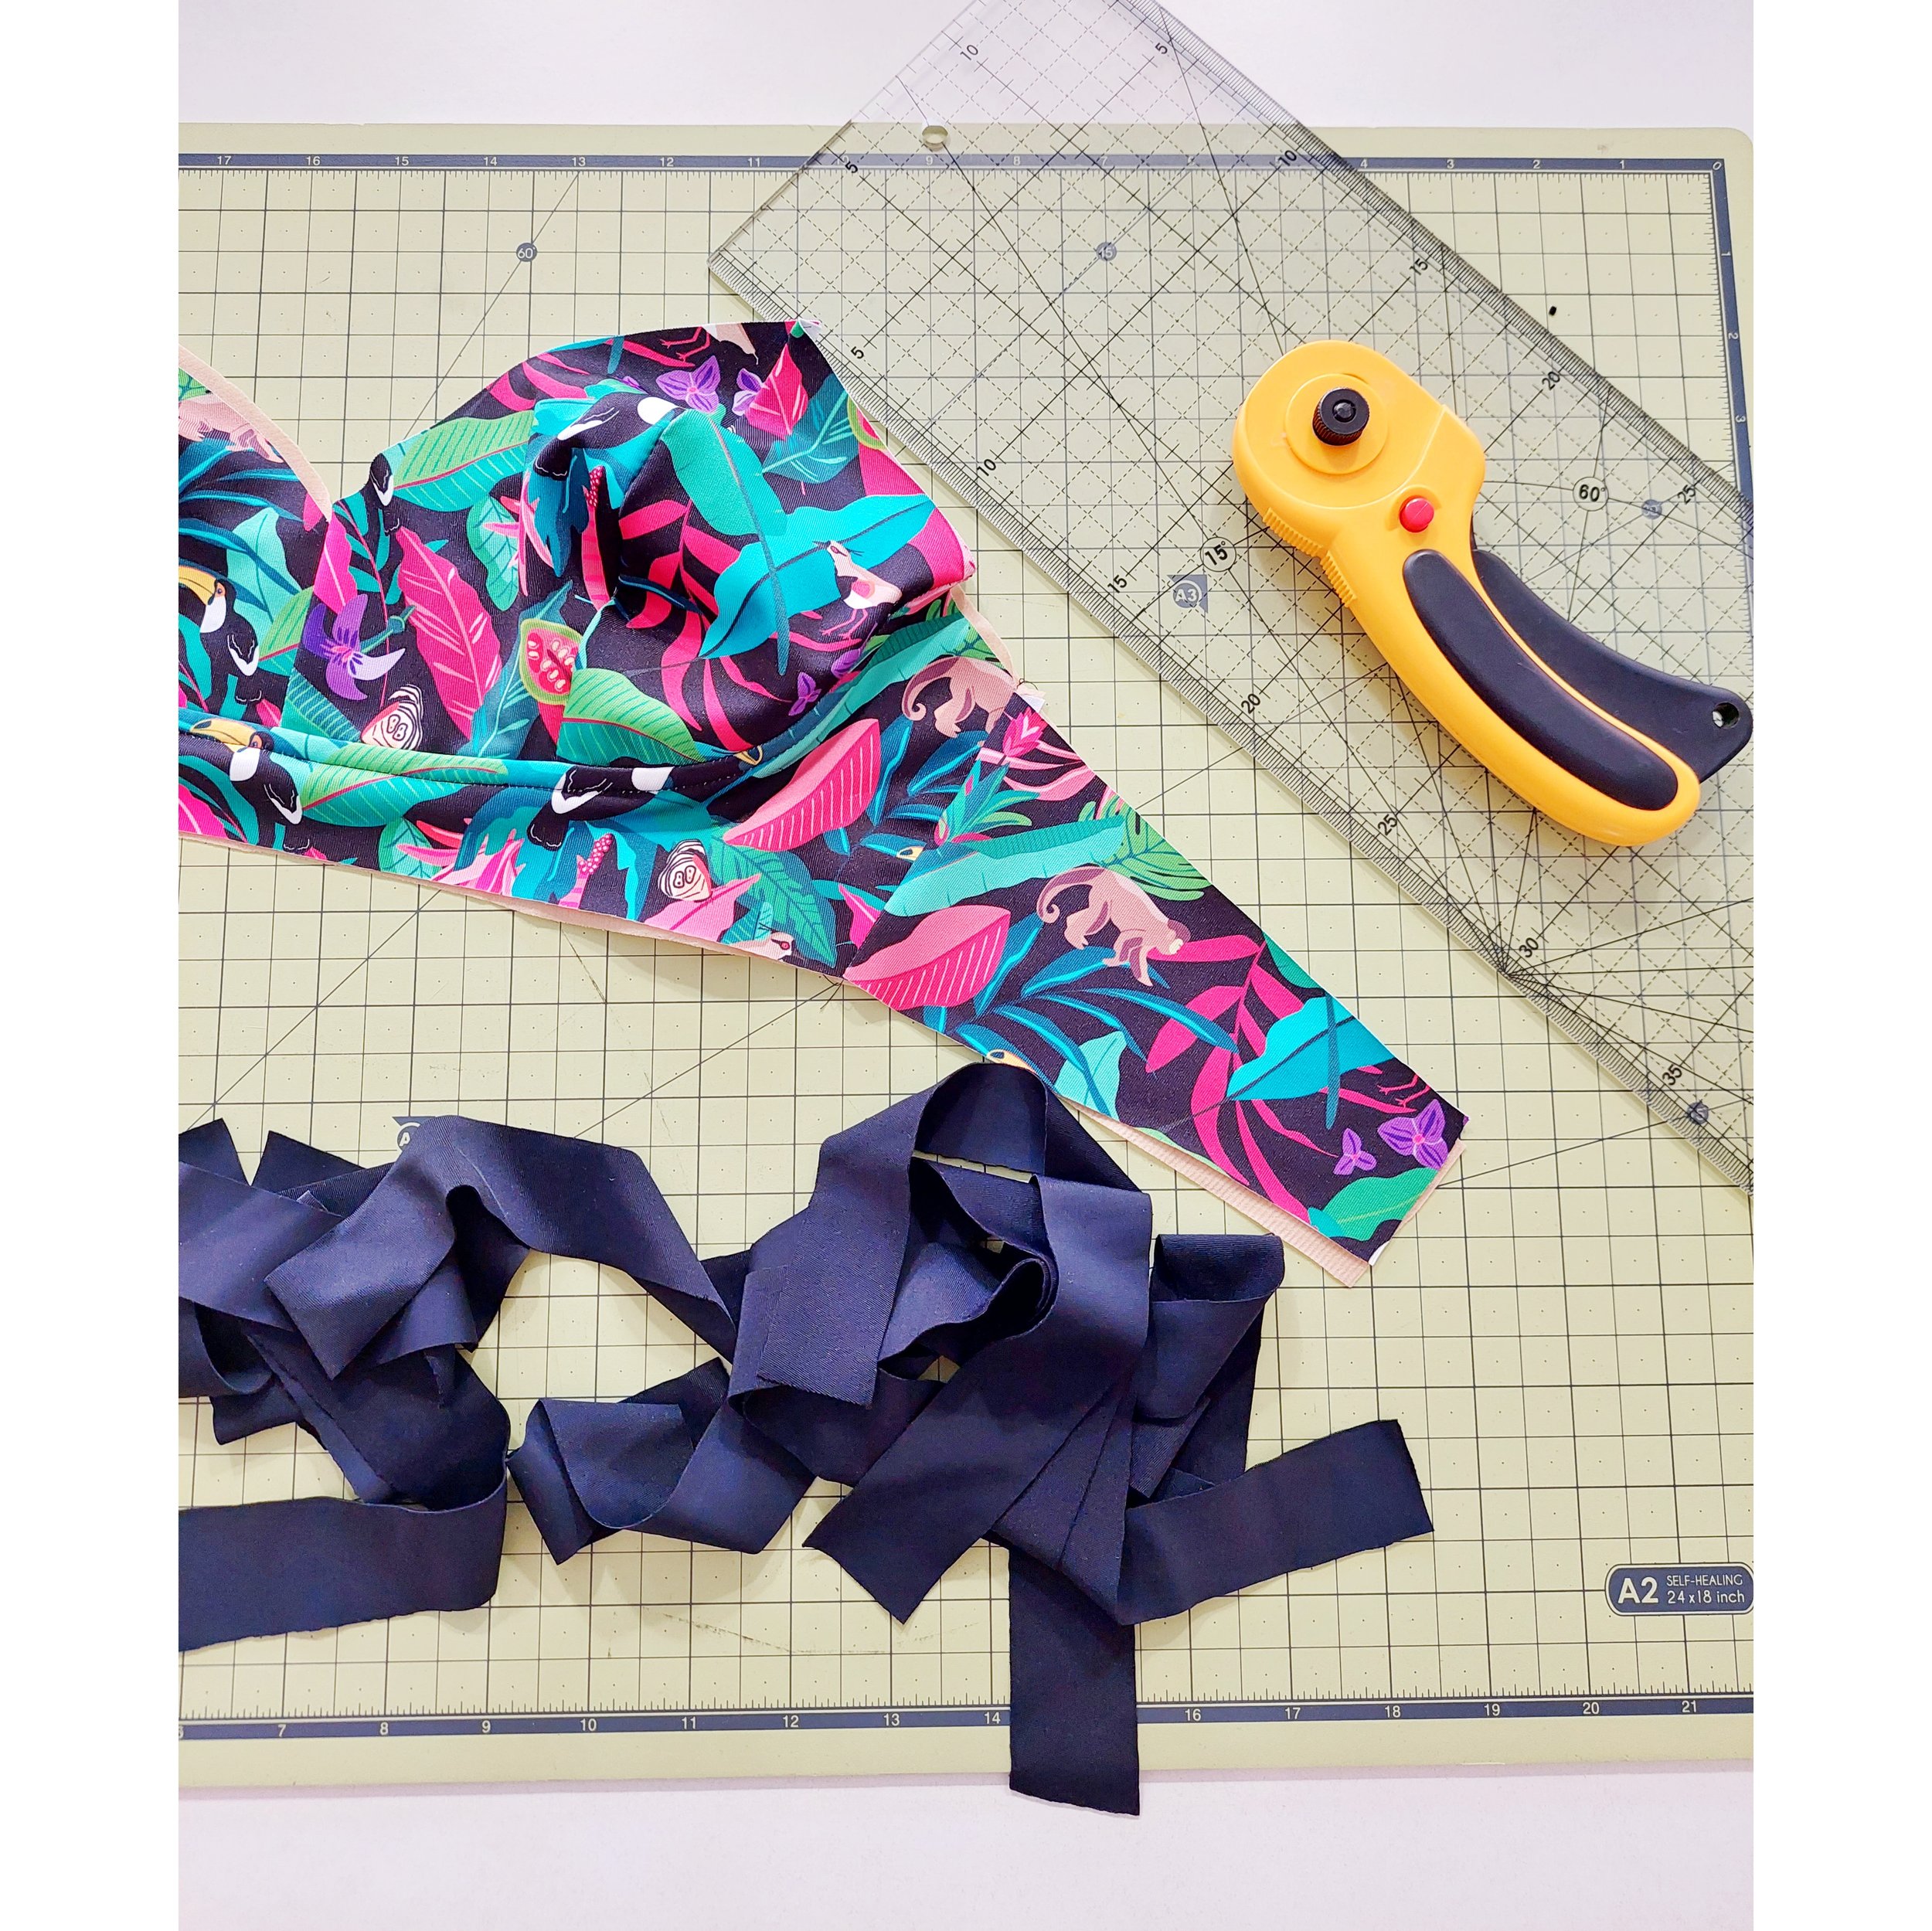
This cute swim lycra fabric was gifted to me by Muxune telas.
First of all you have to think which alterations you’ll be making in order to know if you’ll need to change the pattern pieces to use swim lycra fabric. I’ll list my modifications and I’ll also give you some alternatives if you’re going to do it differently.
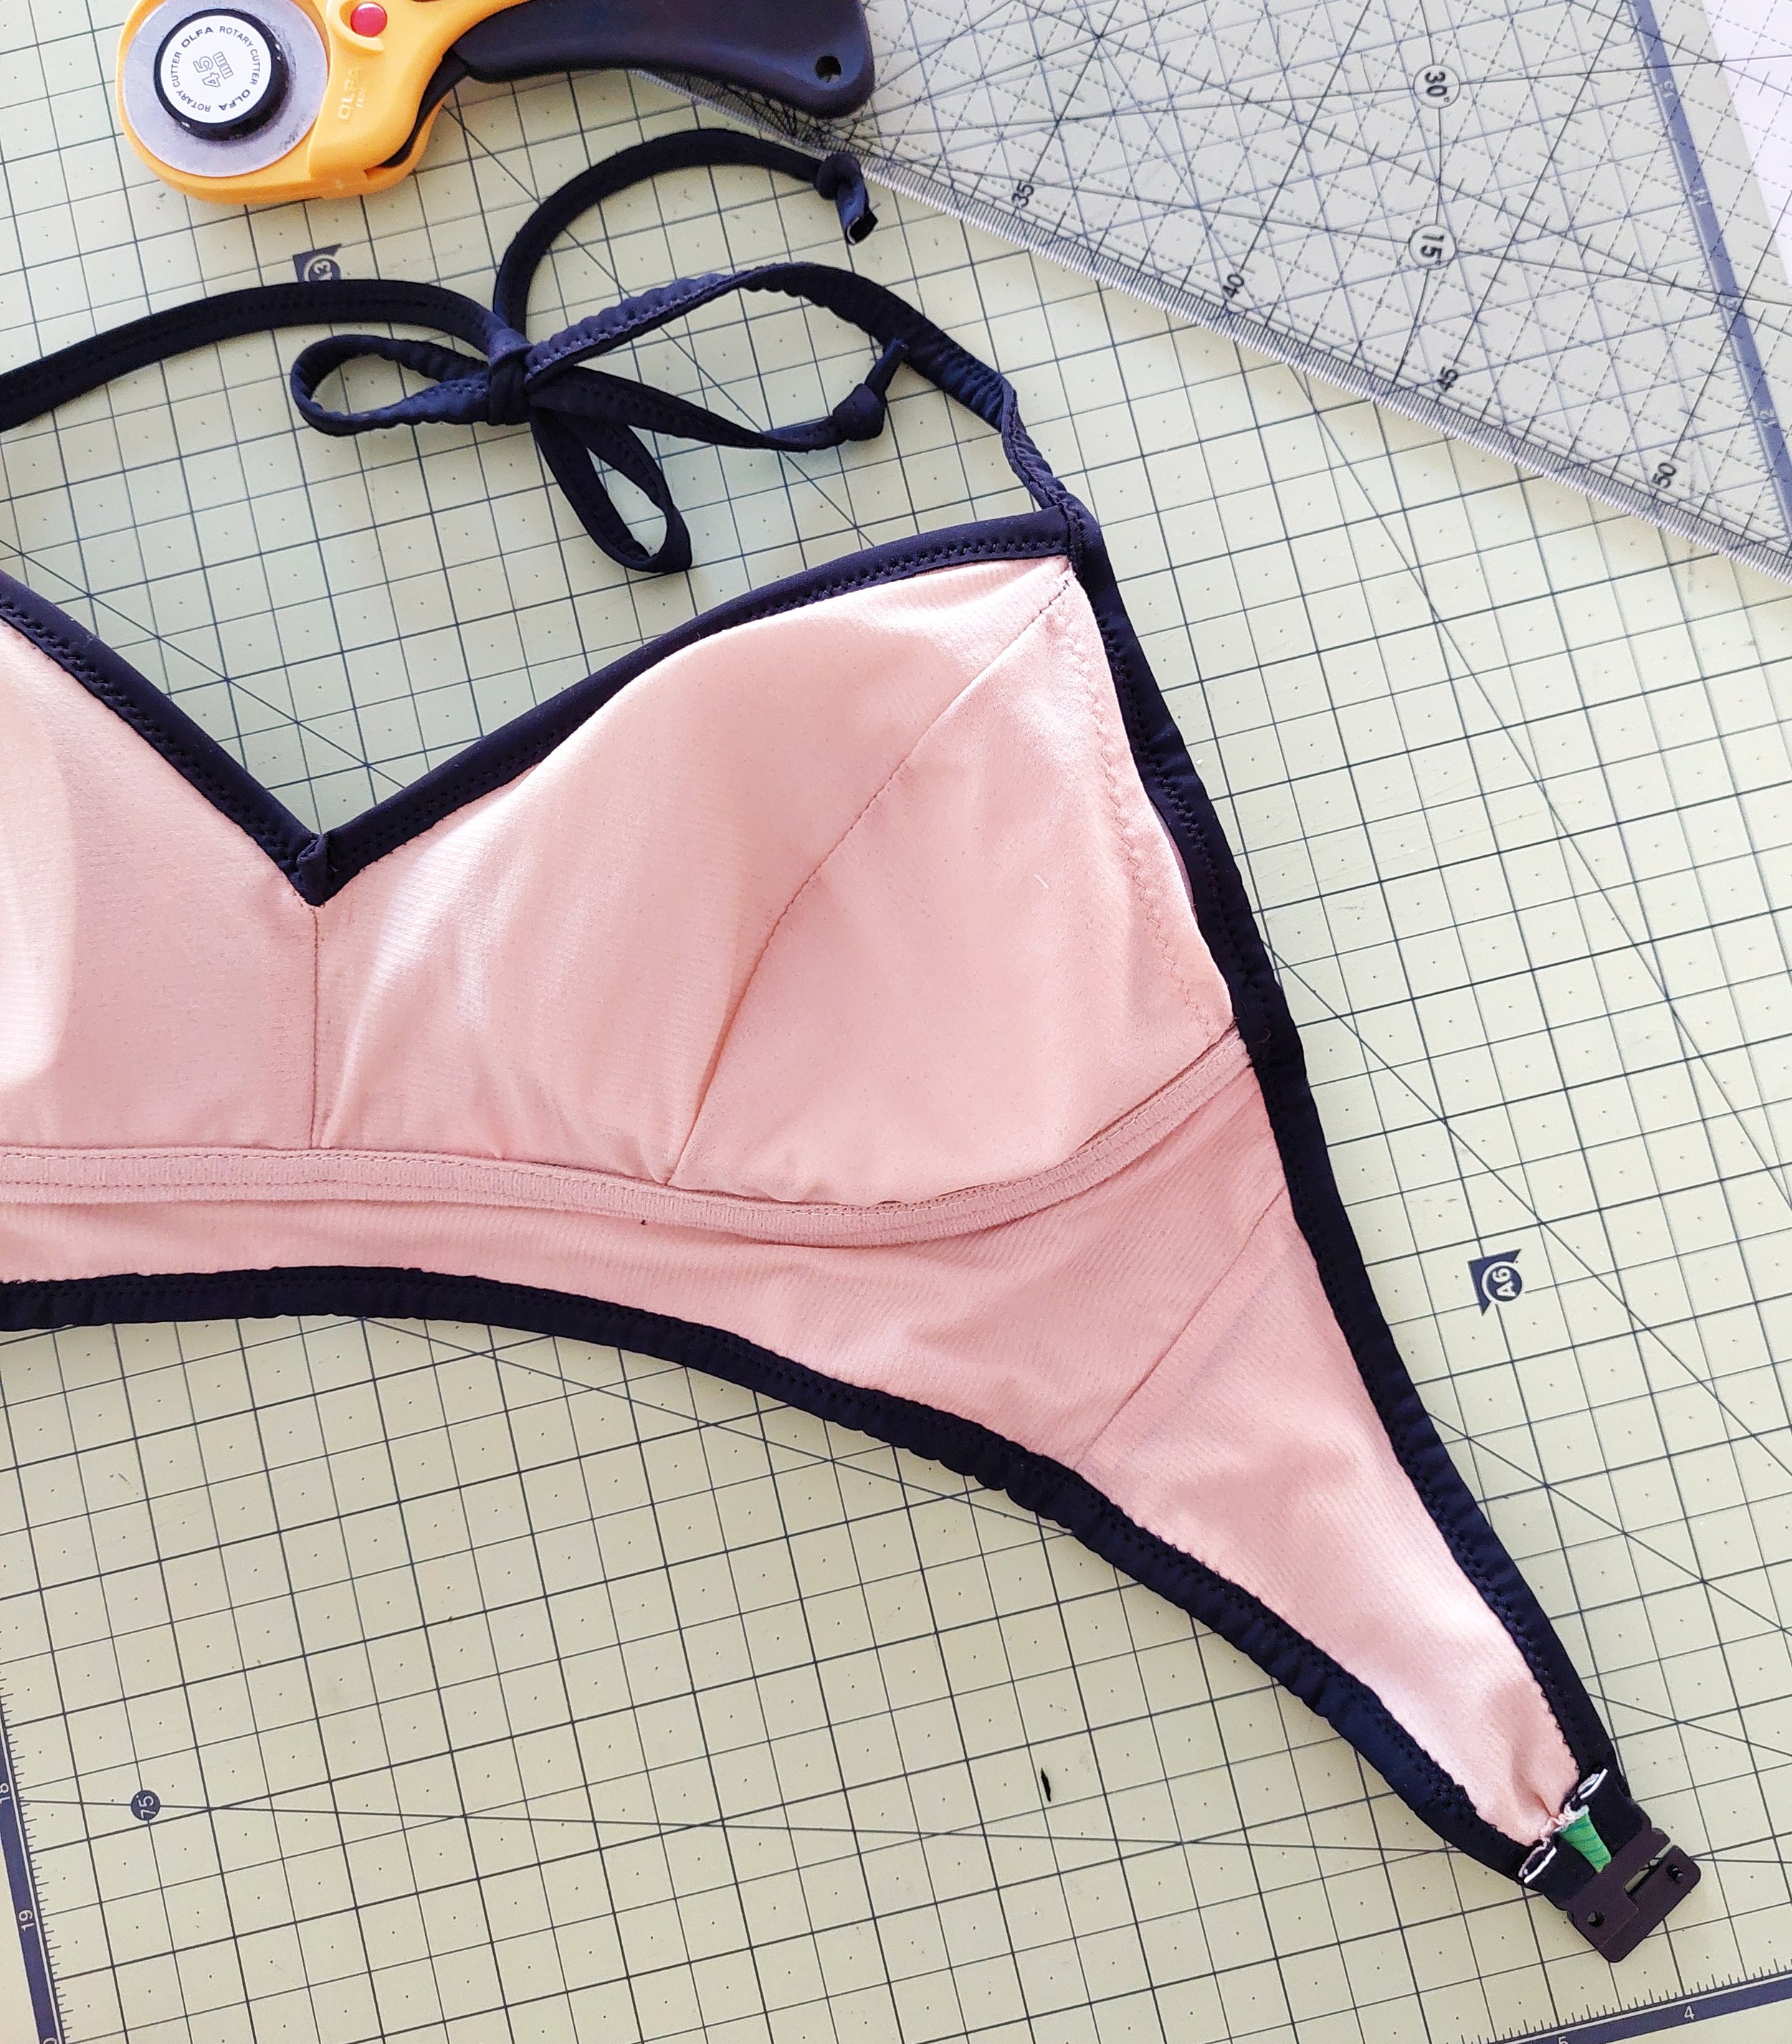
something you’ll always need to do is to add aprox 2,5 cm (1”) to the end of the band piece in order to use a swim closure (you won’t need to do that if you’ll add ties instead to make a knot)
for this version I used a binding in black lycra for contrast, in that case you won’t need the elastic seam allowances and you’ll need to remove them both on the underarm area and the hem of the bralette, all the pieces exept the inner cup will be modified (the neckline does not have a seam allowance as it’s already drafted for the lace edge). This binding works like visible bias binding, it will be wrapped around the edge and it won’t “consume” any fabric. You can also use the binding only for the underarm and the neckline and use the regular way of sewing swim elastic for the hem. In that case don’t eliminate the hem seam allowance. This could work well for bigger cup sizes as you can use a wider swim elastic for the hem for more support (make sure to add any difference if your elastic width is more than 10 mm (⅜”) wide).
If you decide to use the regular way of sewing swim elastic all around your bikini top (wrapping it under the elastic seam allowance) and not the binding method, don’t cut away any elastic seam allowance. In that case you’ll need to add seam allowance to the inner cup neckline too (like when making a knit fabric Mara bralette).
If you want you can lower the neckline
For the lining you have two options. The first one is to use the same linings as for your bralette: rigid lingerie lining (sheer lining, marquisette) for the front band and powermesh for the cups and the band. If these fabrics are what you’ve used for the Maras you like to wear you can use the same for the bikini. The difference between the bralette and the bikini (or an underwired bra and an underwired bikini) is usually only the exterior fabric (lycra), swim elastic and the closure. This will give you the same support/fit as what you’re used to.
Another option is to use a swim lining. This fabric gives no support so you’ll end up with a more relaxed fit. You’d still use the underwire channeling tape which will provide some stabilization. If you don’t have a big cup size this can be an option! I’m making my sample using swim lining.
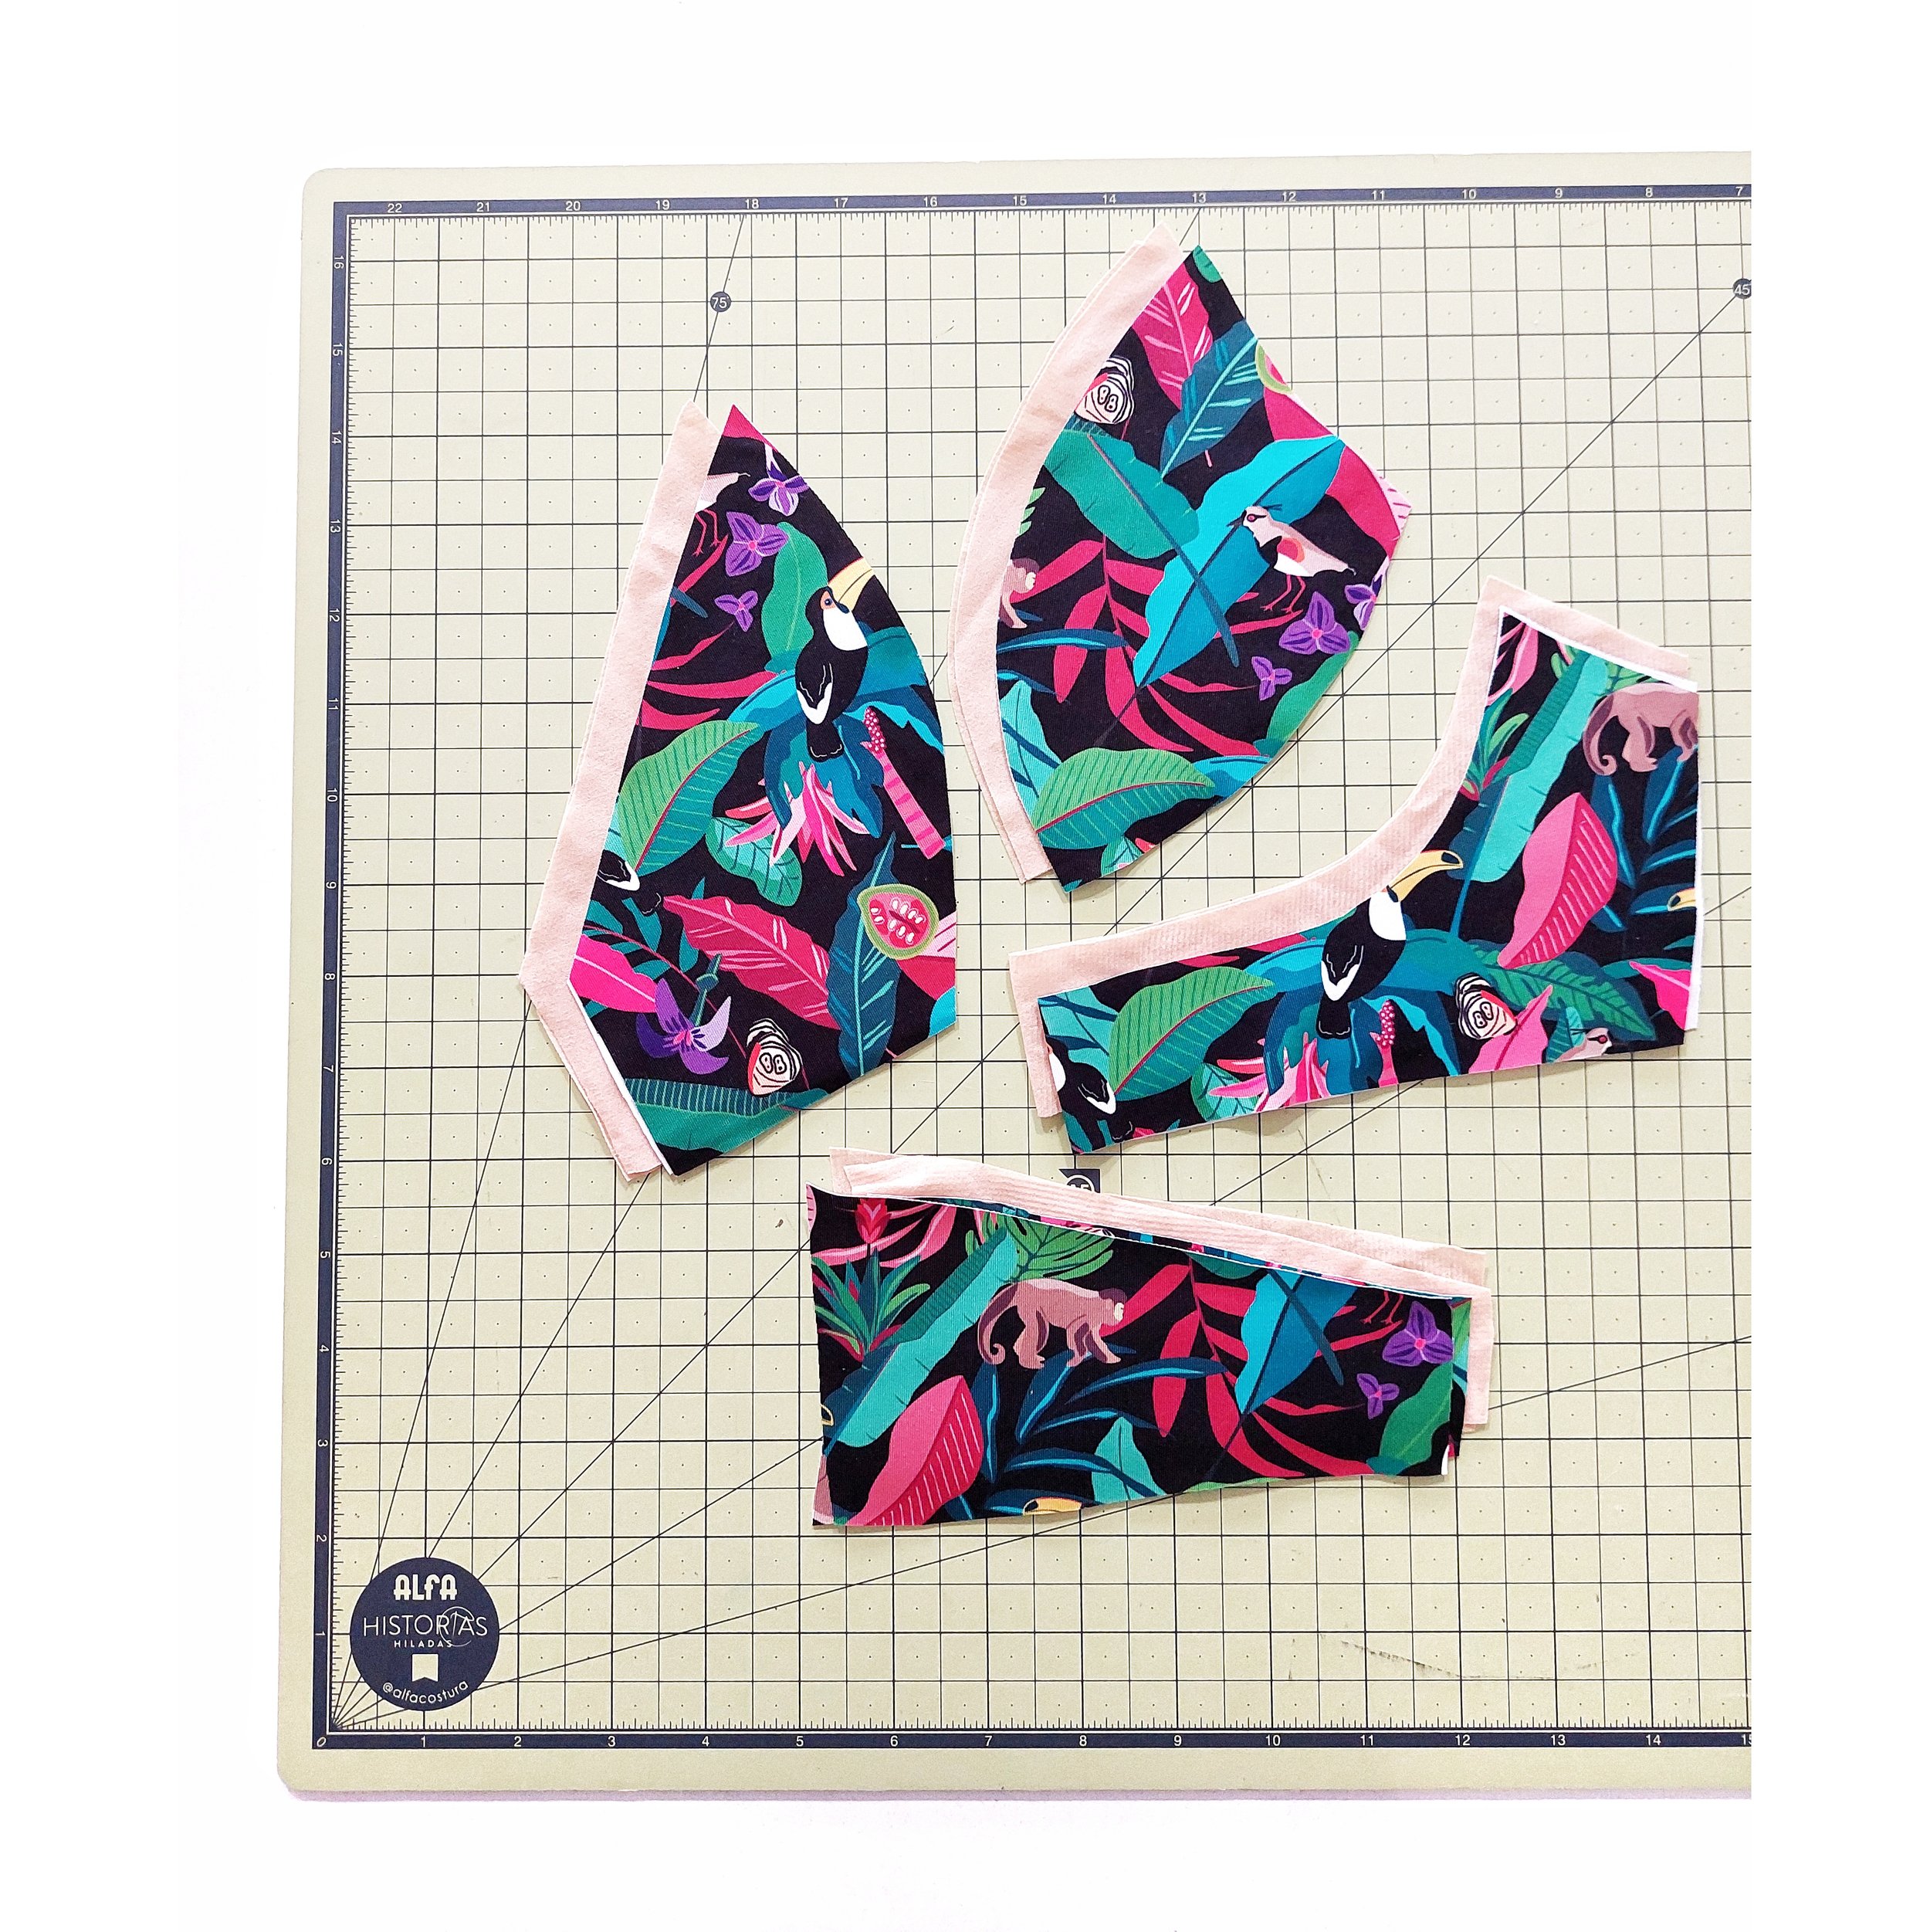
Cut the pieces from your preferred lining in the same way as the exterior lycra pieces.
First sew the center seam together as usual sewing the four layers of the inner cup together in one pass.
Another thing I tried out here for this tutorial is to leave an opening for removable foam cups. These are something I myself use a lot so I like the option and you can always opt to not use it if you don’t want to, the good thing is that it’s always there.
If you won’t use the pocket opening just sew the cup pieces together as explained in the original bralette instructions.
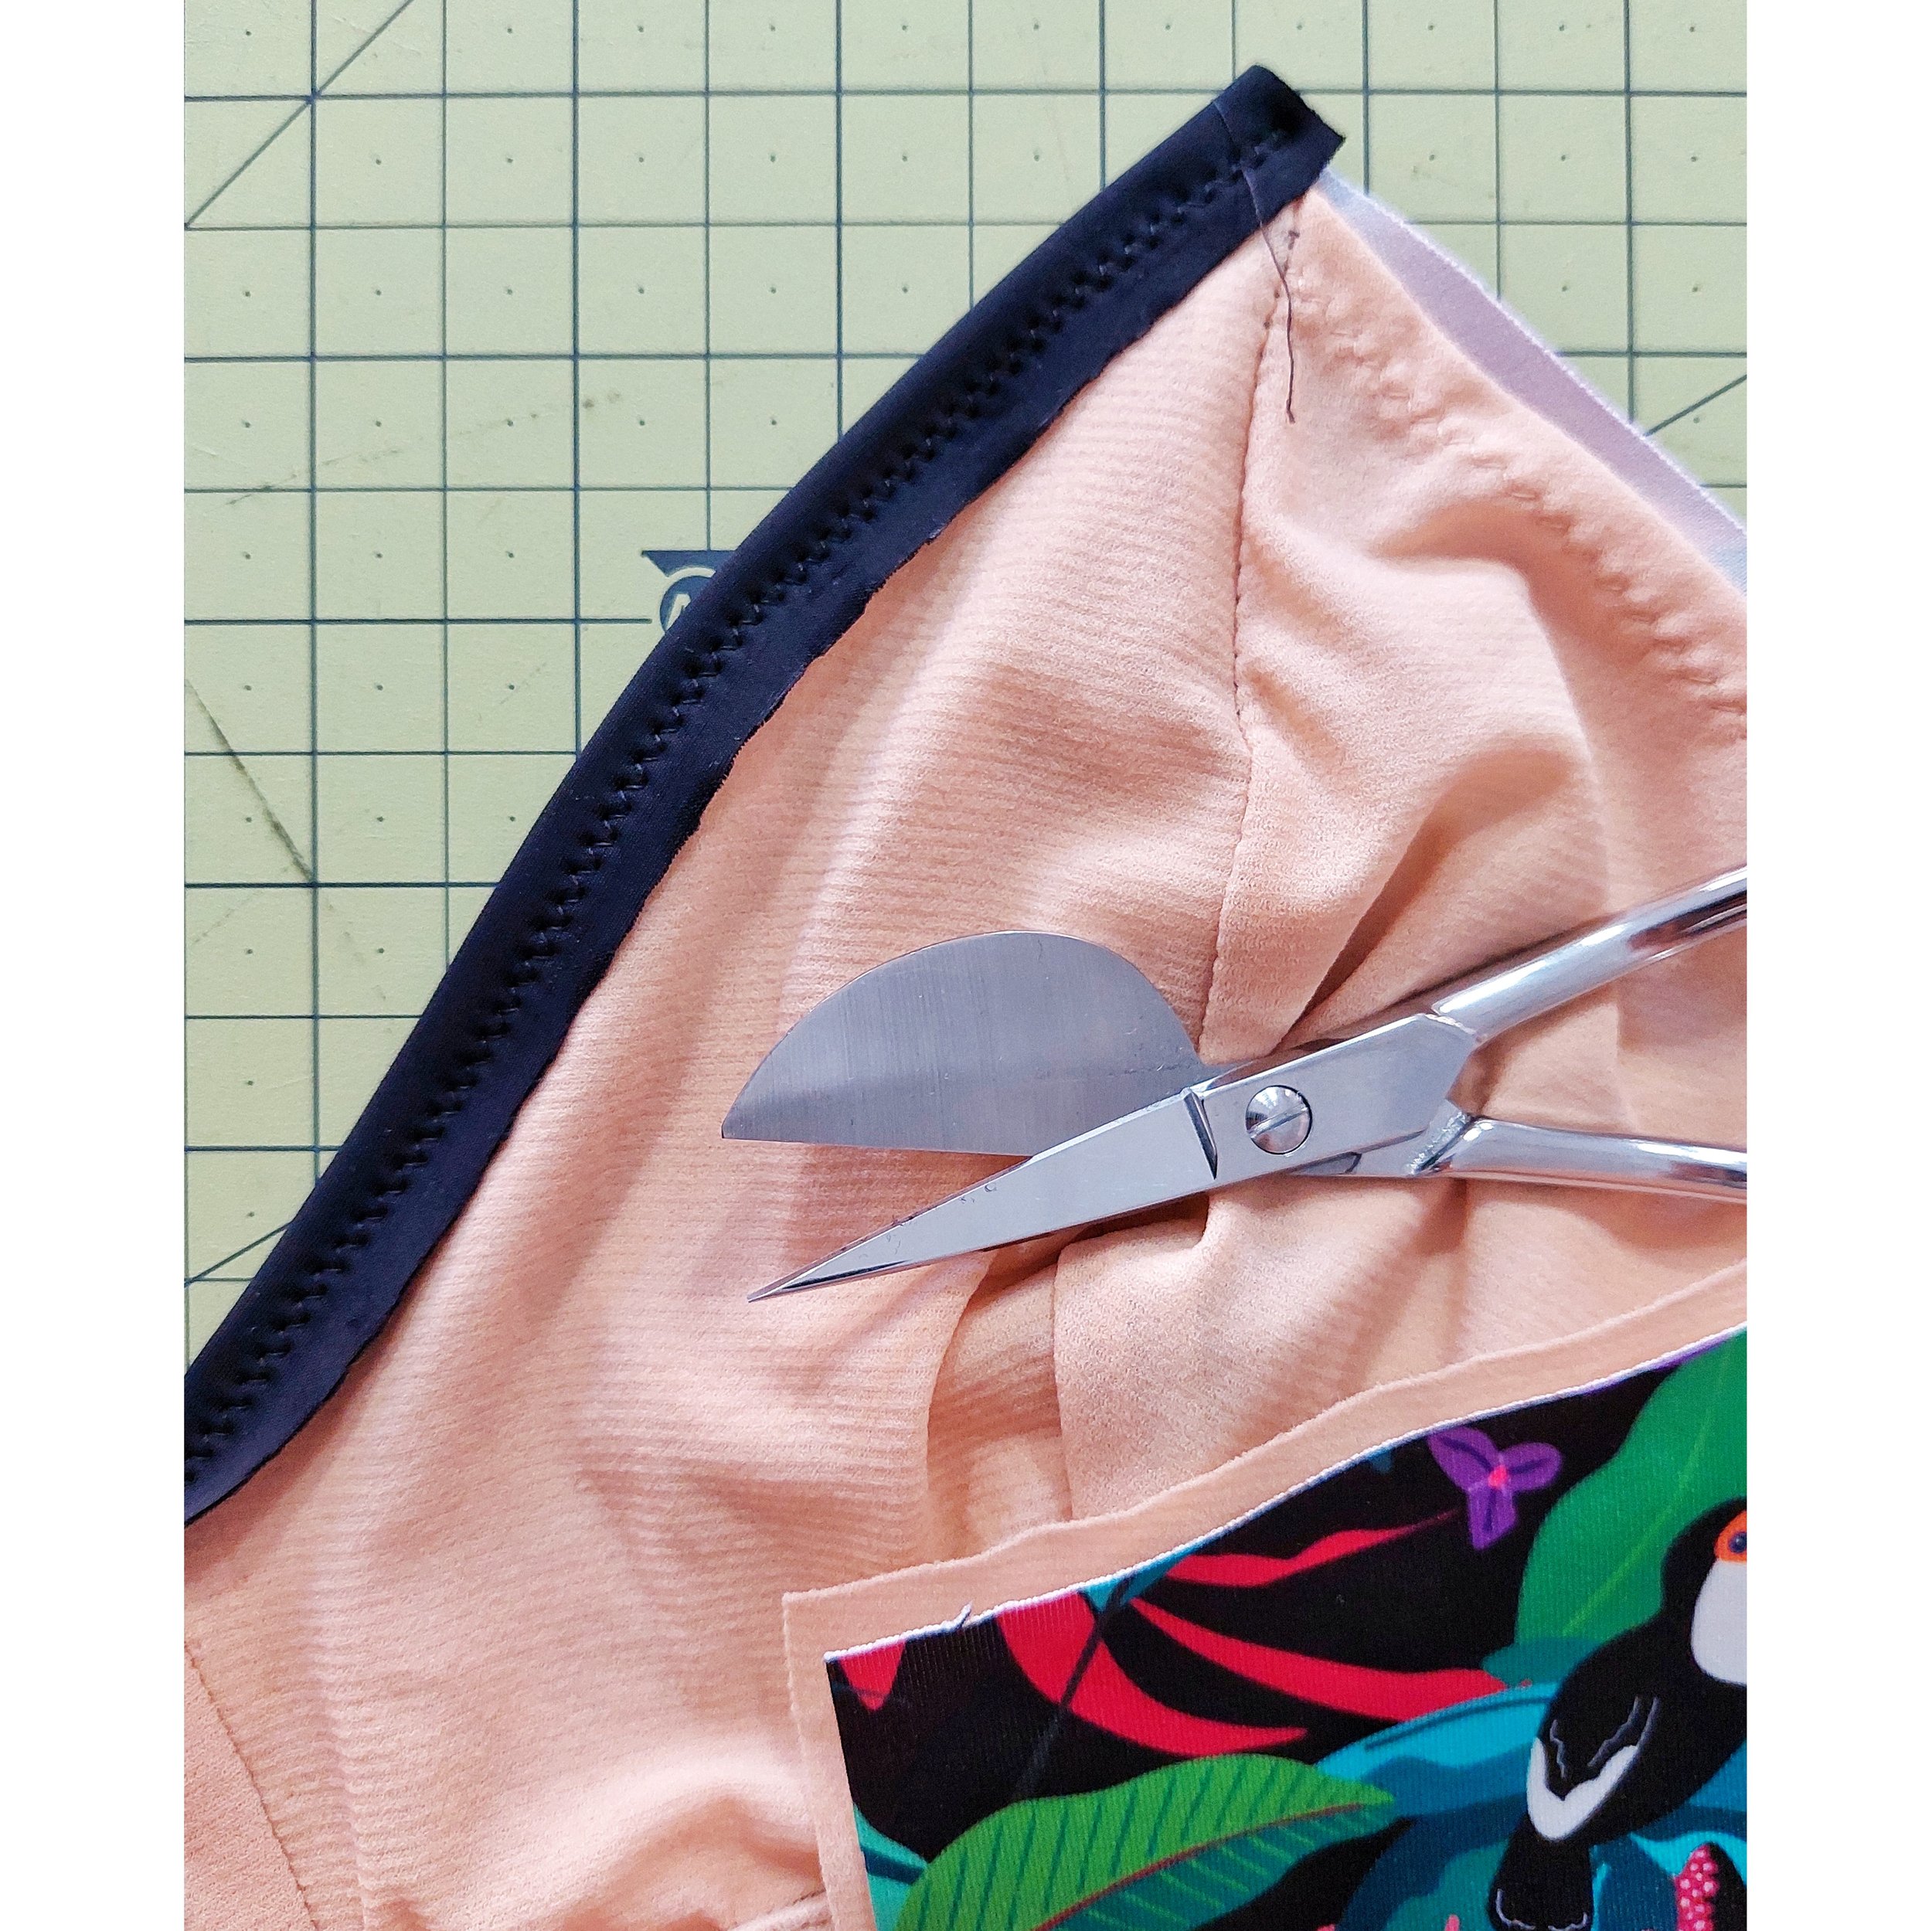
If you want to use the pocket option you’ll need the exterior lycra and the interior lining cups to be separate (not together like in the original version of the bralette). First prepare the pocket “opening”.
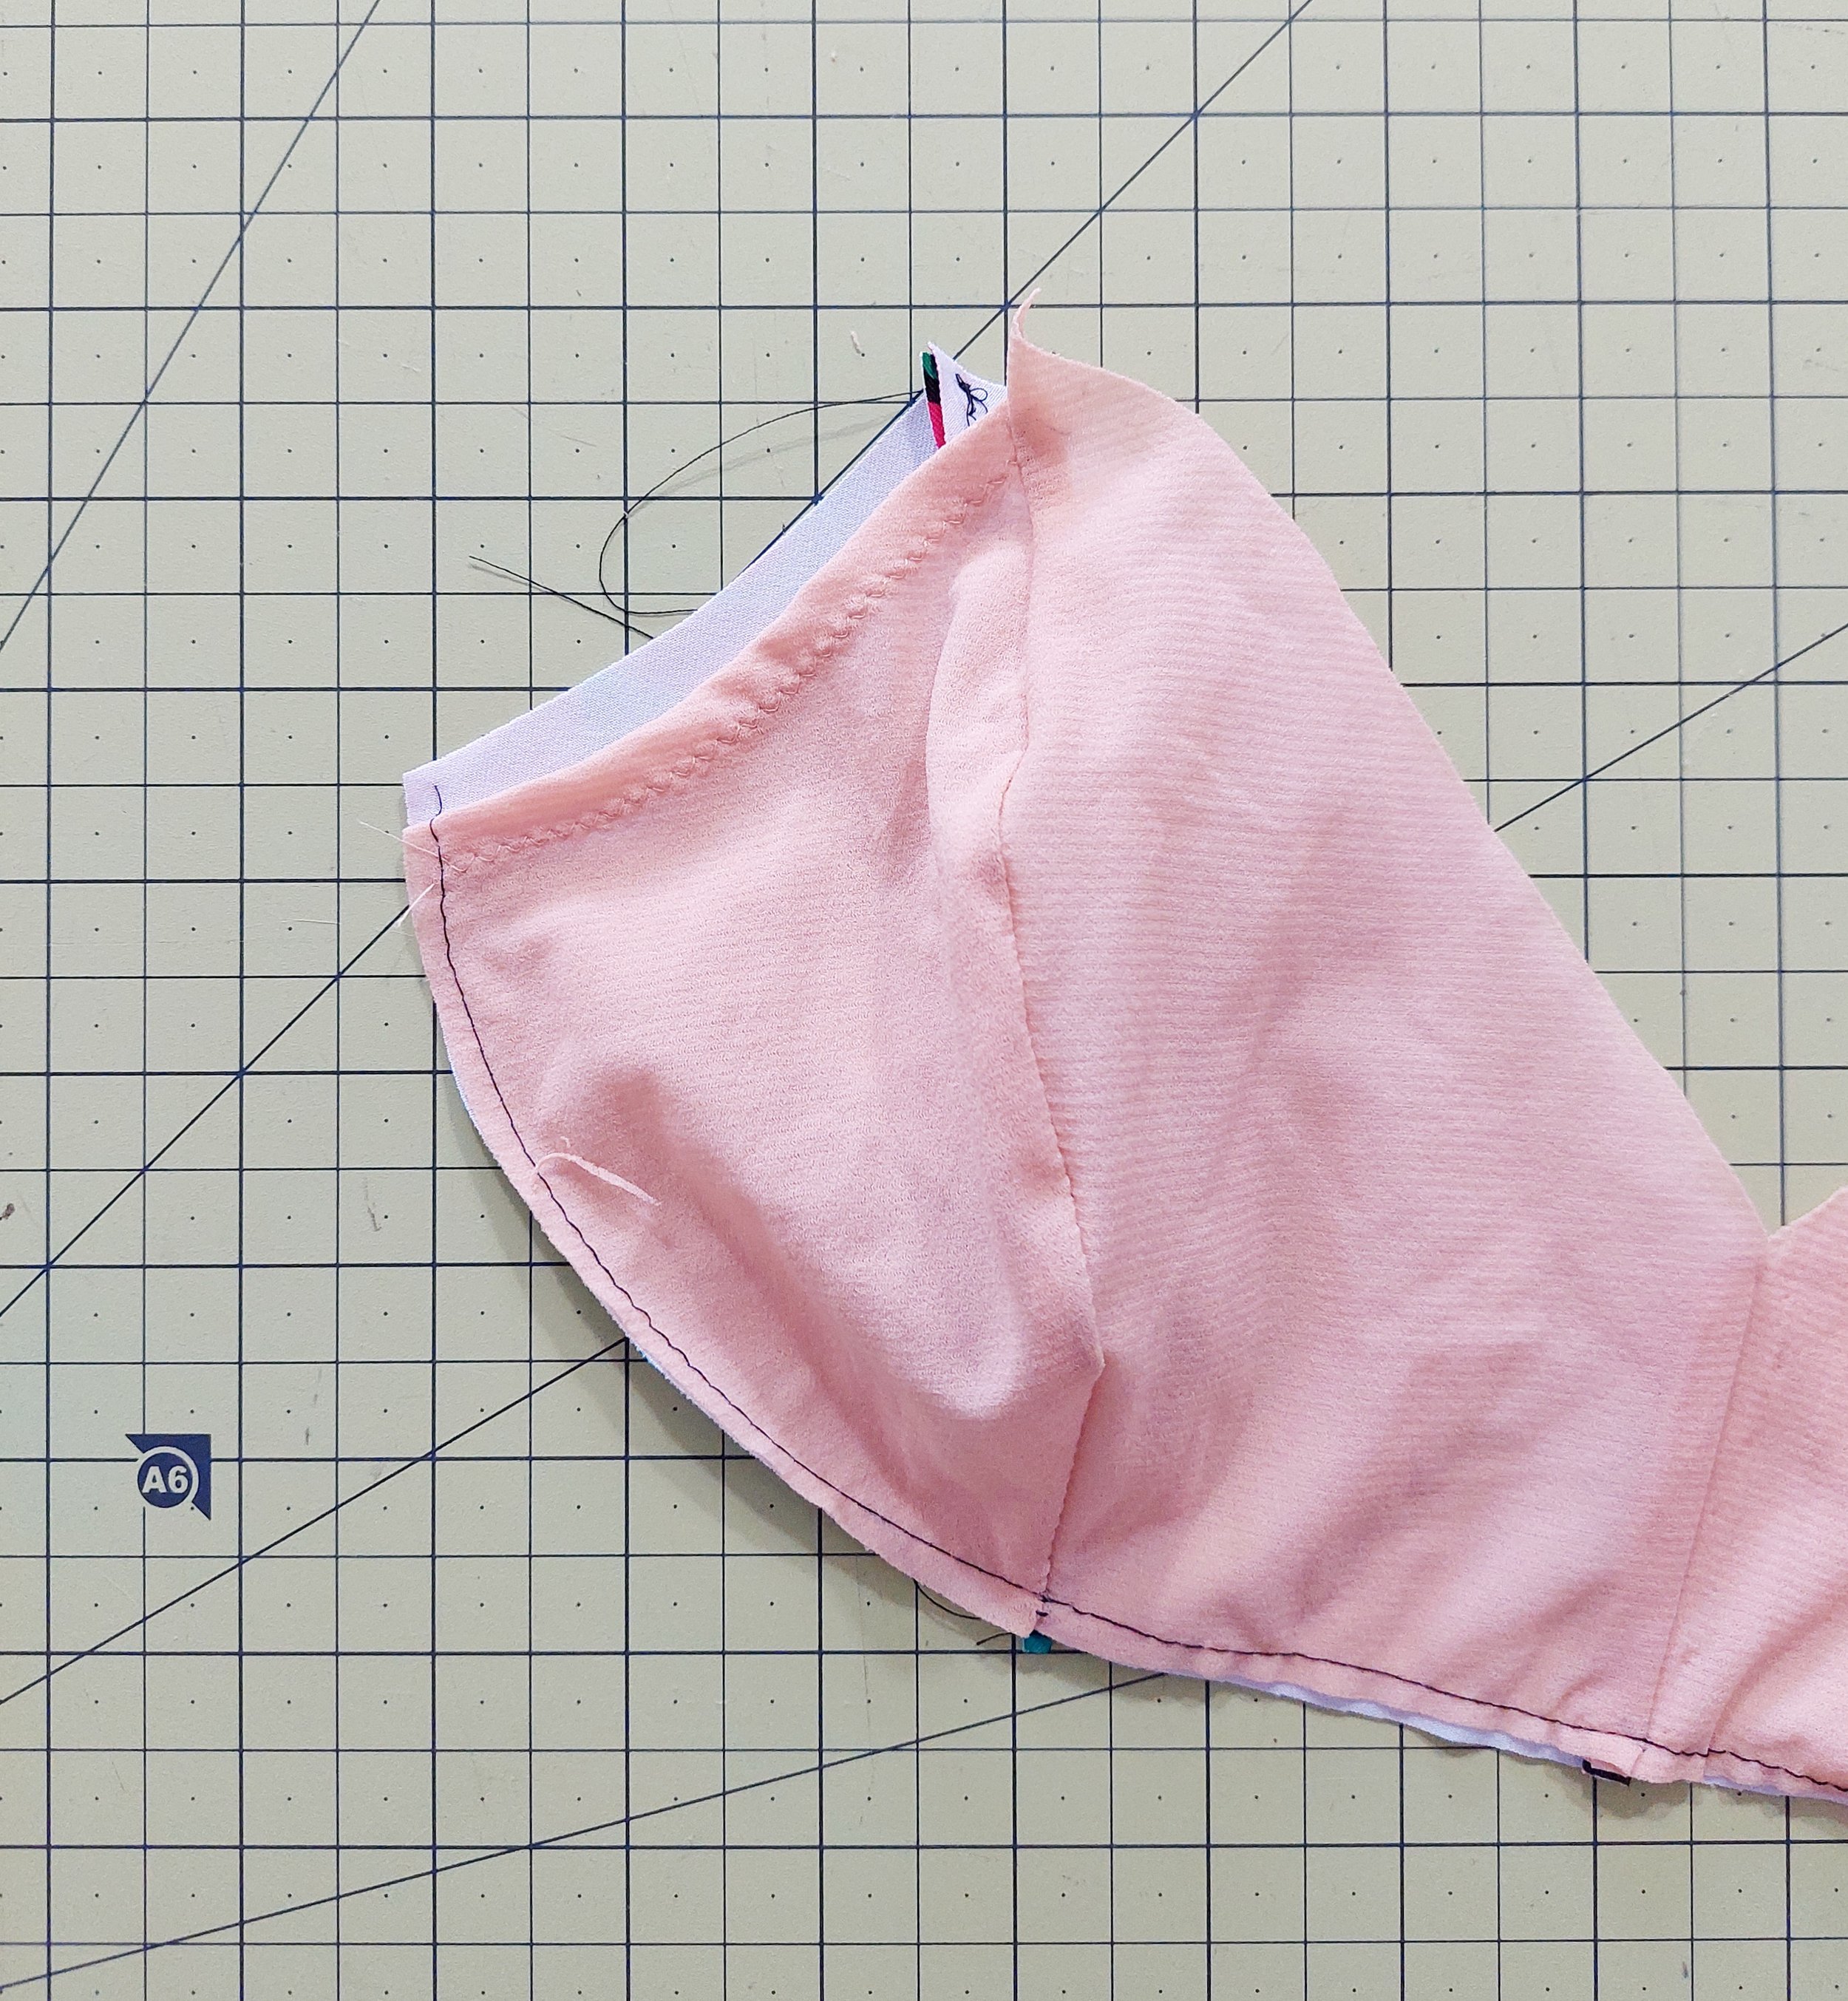
To do that I folded the seam allowance on the underarm of the outer cup piece lining down for about 1 cm (⅜”) and using a zig-zag stitch I sewed it in place. That way the lining will form a “pocket” which won’t be visible on the outside.
When you have the lining outer cups prepared just sew the lining cup pieces together with right sides together and the exterior lycra cups together with right sides together too.
After that join both layers together on the curved lower part of the cups with a long basting stitch so they’ll move around less.
Now sew the cups together with the front band and then the back bands as usual.
Sew the underwire channeling tape in place going all the way until the underarm seam if you’re using a binding like I do or stop 1 cm before the underarm if you’re sewing the elastics by folding them under.
For the topstitching I used only one exterior line as lycra is a bit bulkier than lace and it was enough (this topstitching line looks good on the outside and not so aligned on the inside but as this style actually does not use underwires I don’t worry about it too much, hehe).
For the binding I cut 3 cm (around 1 ½”) wide lycra strips from the black contrasting swim fabric. As I wanted to use a continuous strip for the straps I made sure that I’d have two strips as long as the underarm length + the strap length (around 40 cm (16”)). You could also use a ring on the upper part of the cup and that way you won’t need a piece that long.
First I used the binding for the neckline. I used only the binding and no elastic there as usually this part doesn't require so much support, the binding alone is enough. That’s why I could sew the neckline in one piece as it would be a straight line.
I sewed the binding with right sides together with the cups using a 2.5 length, 2.5 width regular zig-zag. The stitching line was about 8 mm (a bit over ¼”) from the edge of the binding. I stretched the binding slightly when sewing it to create light tension. Starting on one of the edges I sewed until the center, maintaining it as a straight line so I could sew until the other edge.
*If you would like to use swim elastic there (as explained for the hem and underarm elastic below) it can’t be sewn this way as it will be too bulky to sew the triangle in the next step. To do that you’d need to apply the elastic when the center seam is not sewn together. And then after having both inner cup necklines with the elastics sewn on you’d join the center pieces together (you’ll have raw edges on the inside of the bikini there which you can overlock or zig-zag if you want to).
Now turn the binding under and again on the right side of the bikini sew with the same zig-zag stitch close to the inner edge of the binding. You’ll catch the raw edge of the binding underneath with your zig-zag, fold the binding well in order it to be well aligned.
Cut away any excess fabric if there is any on the inside of the bikini.
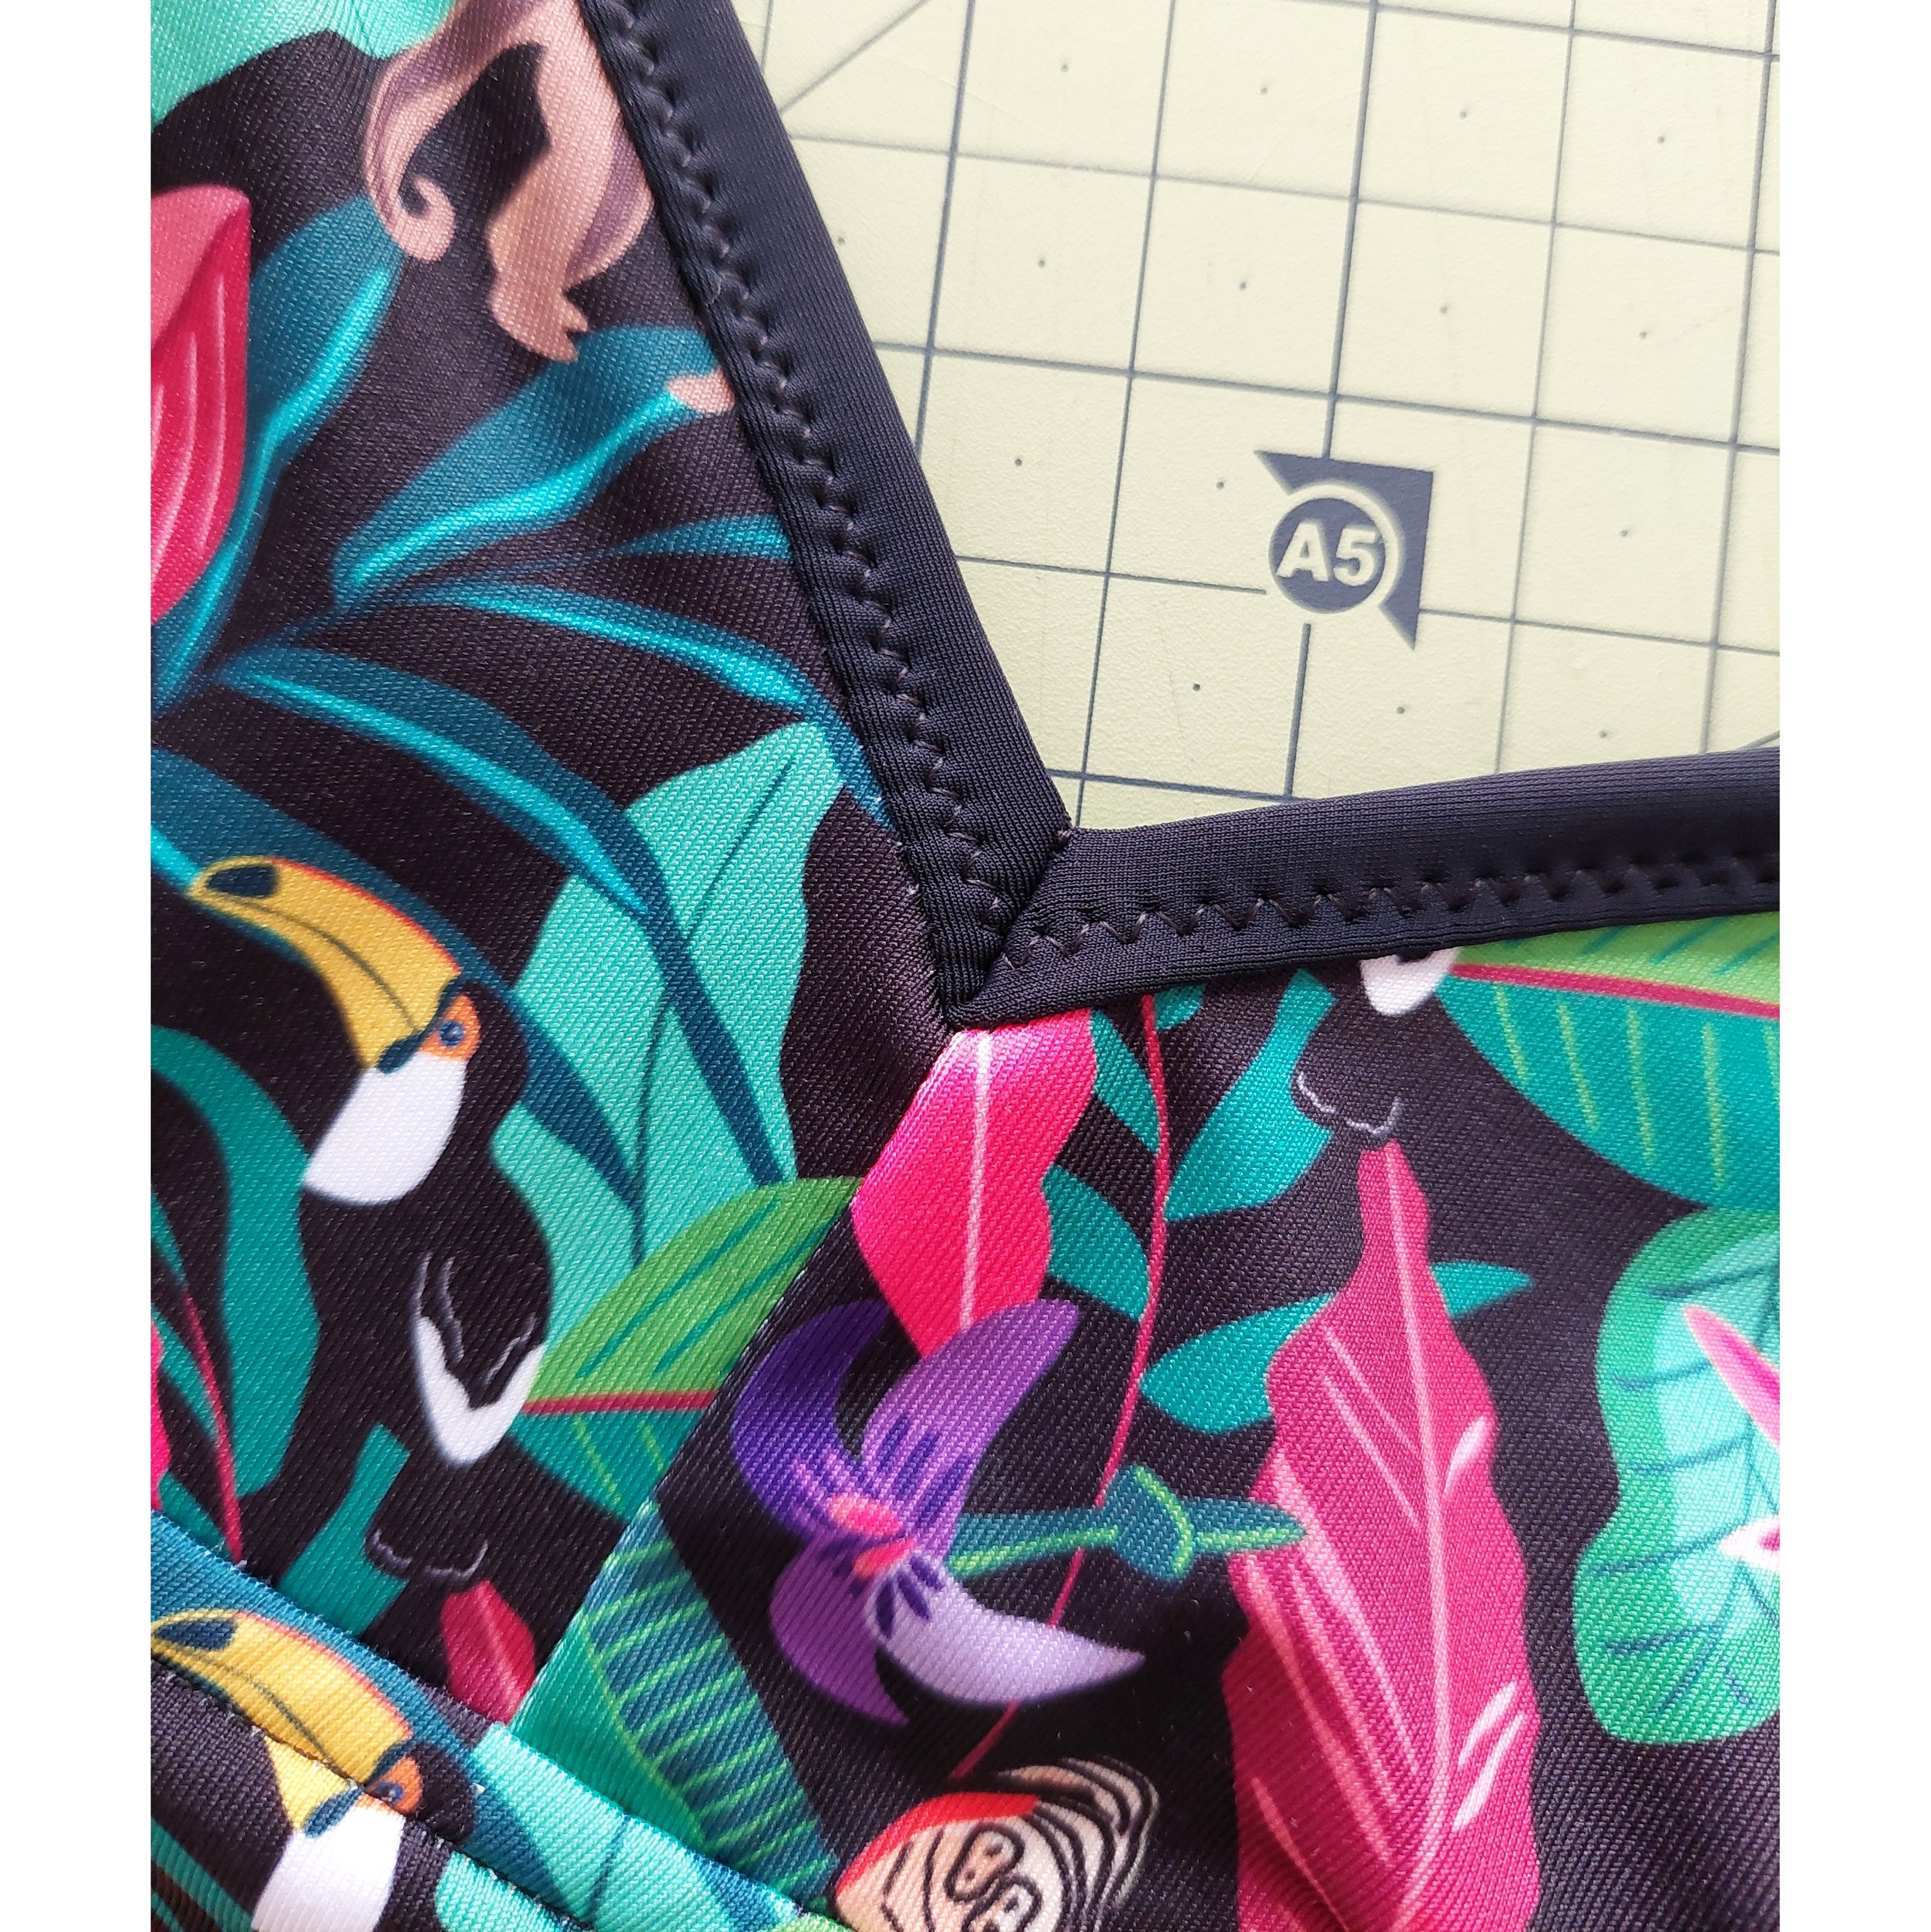
To make the binding stay flat and to form the V on the neckline you can sew a little line on the binding on the inside. From the outside it looks like this.
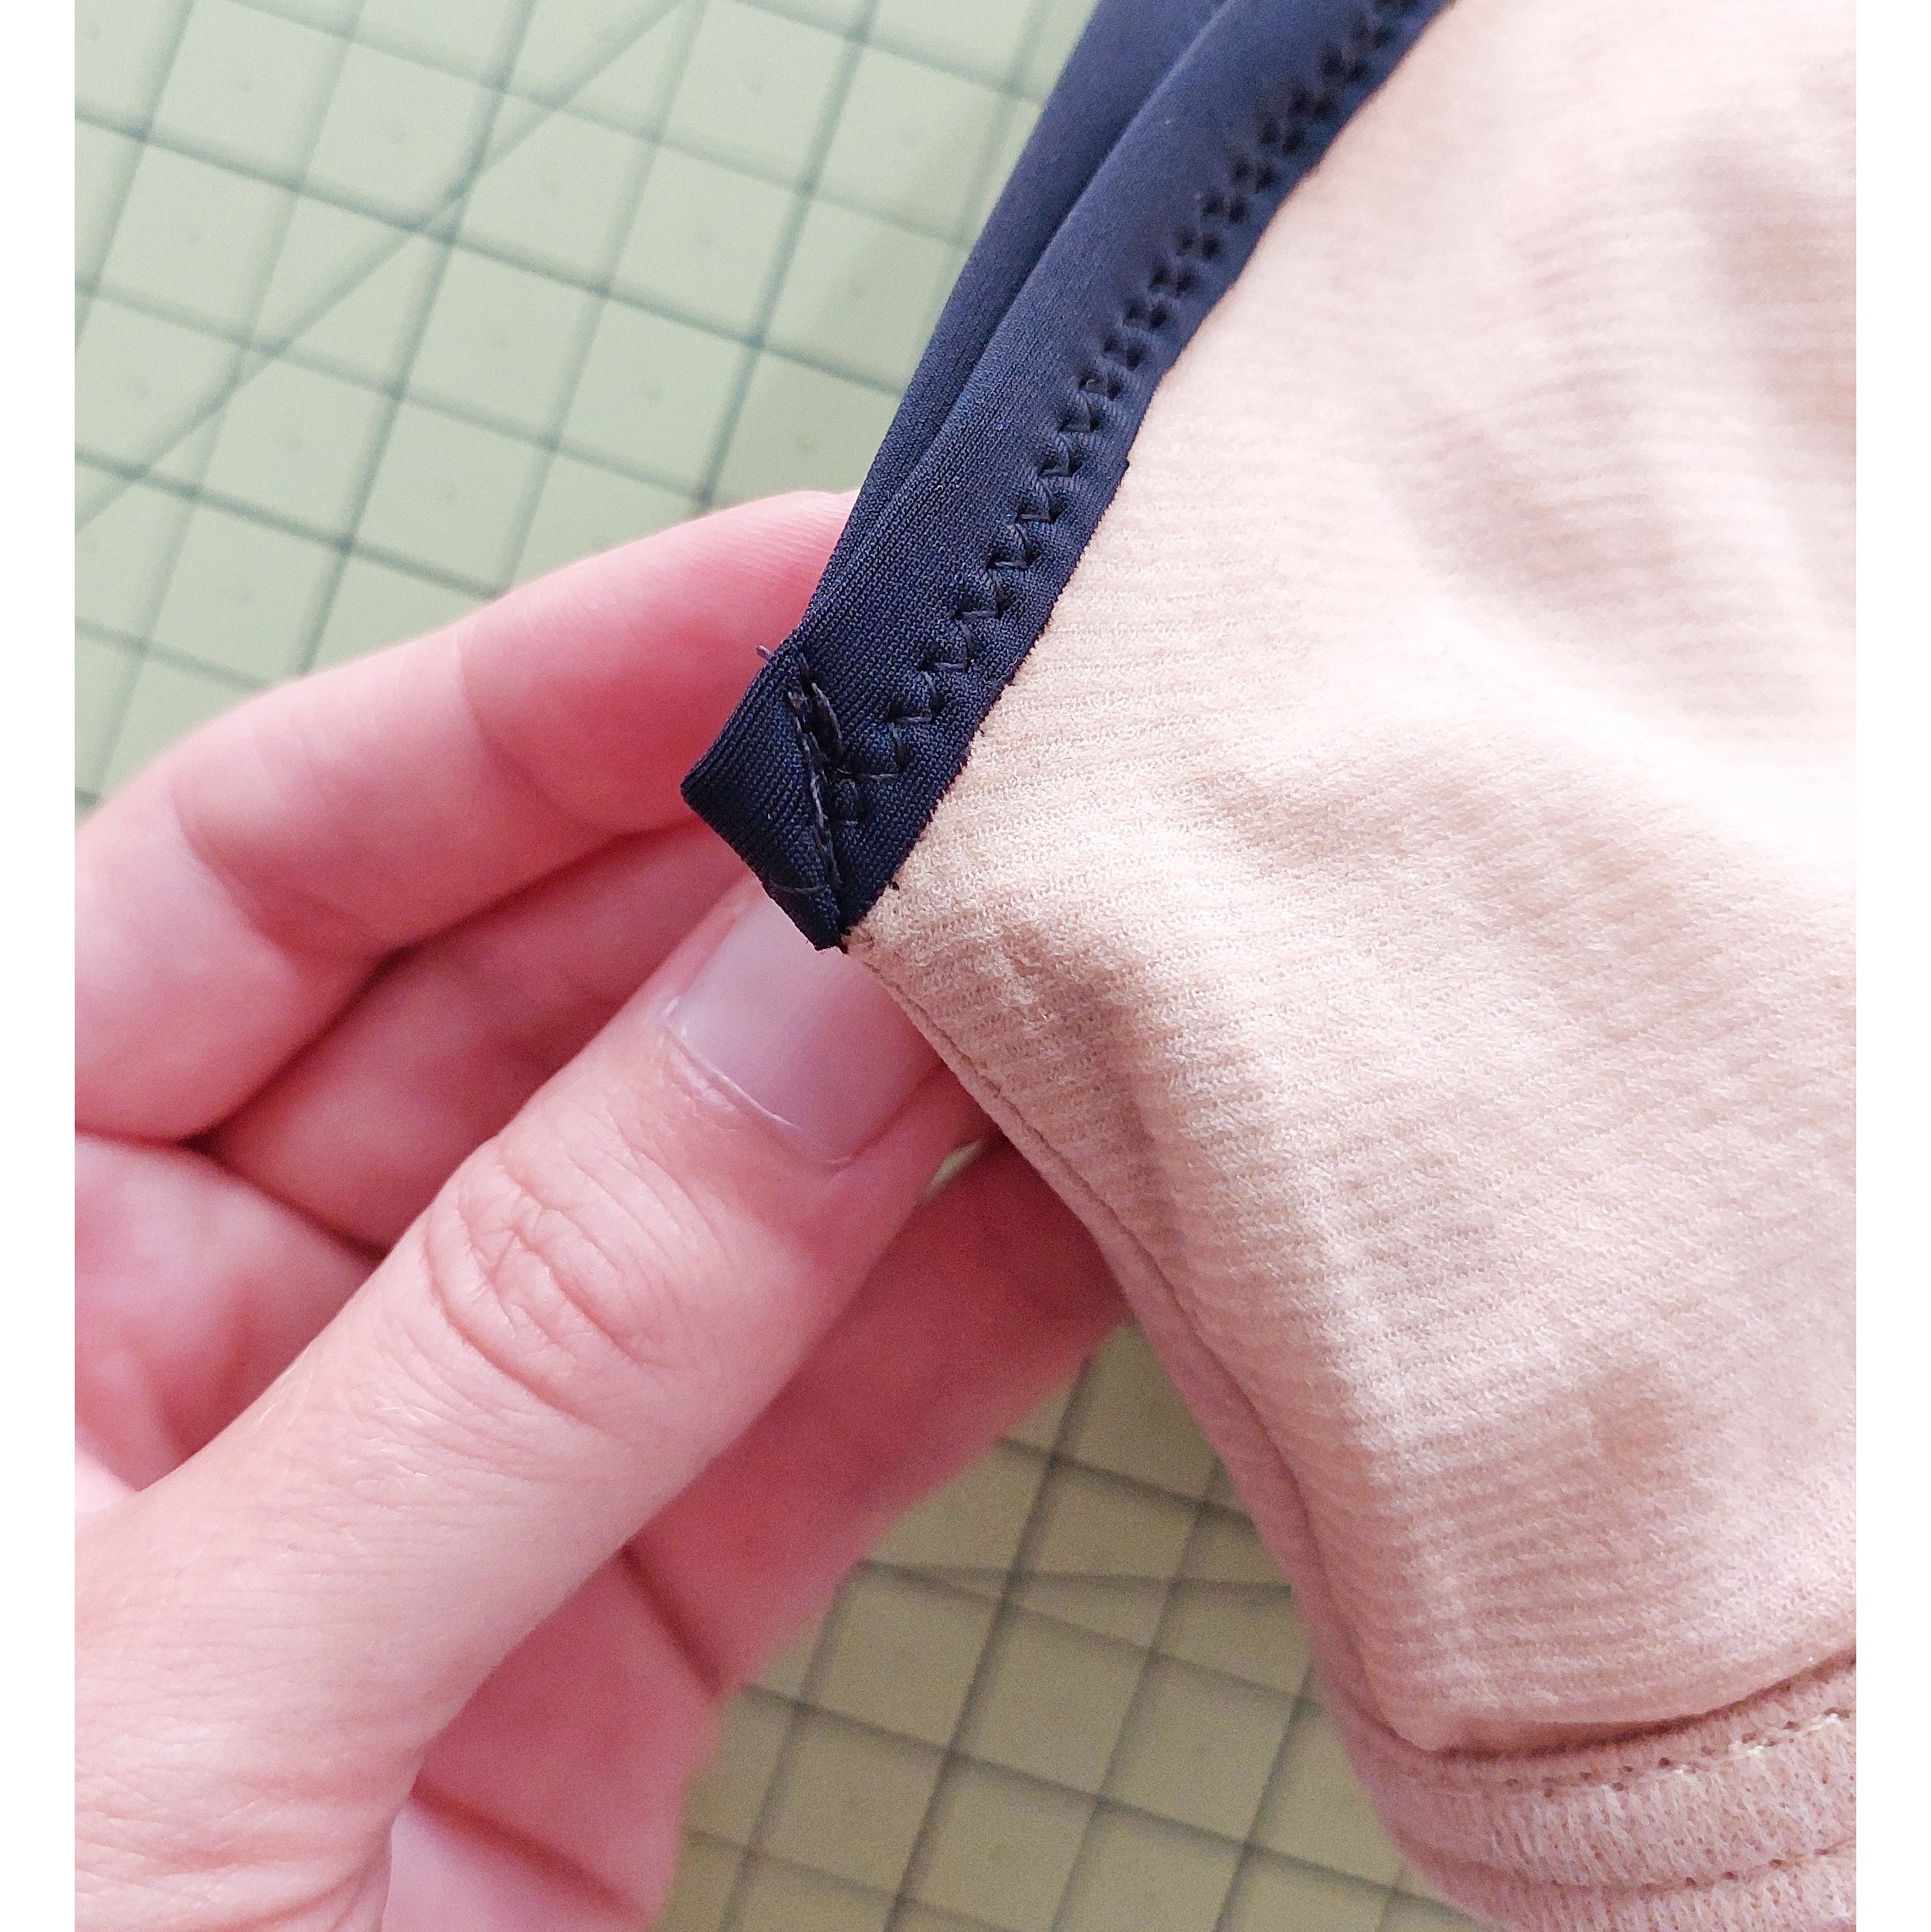
On the inside just fold the center seam and sew a bar tack within the binding to “remove” the excess binding.
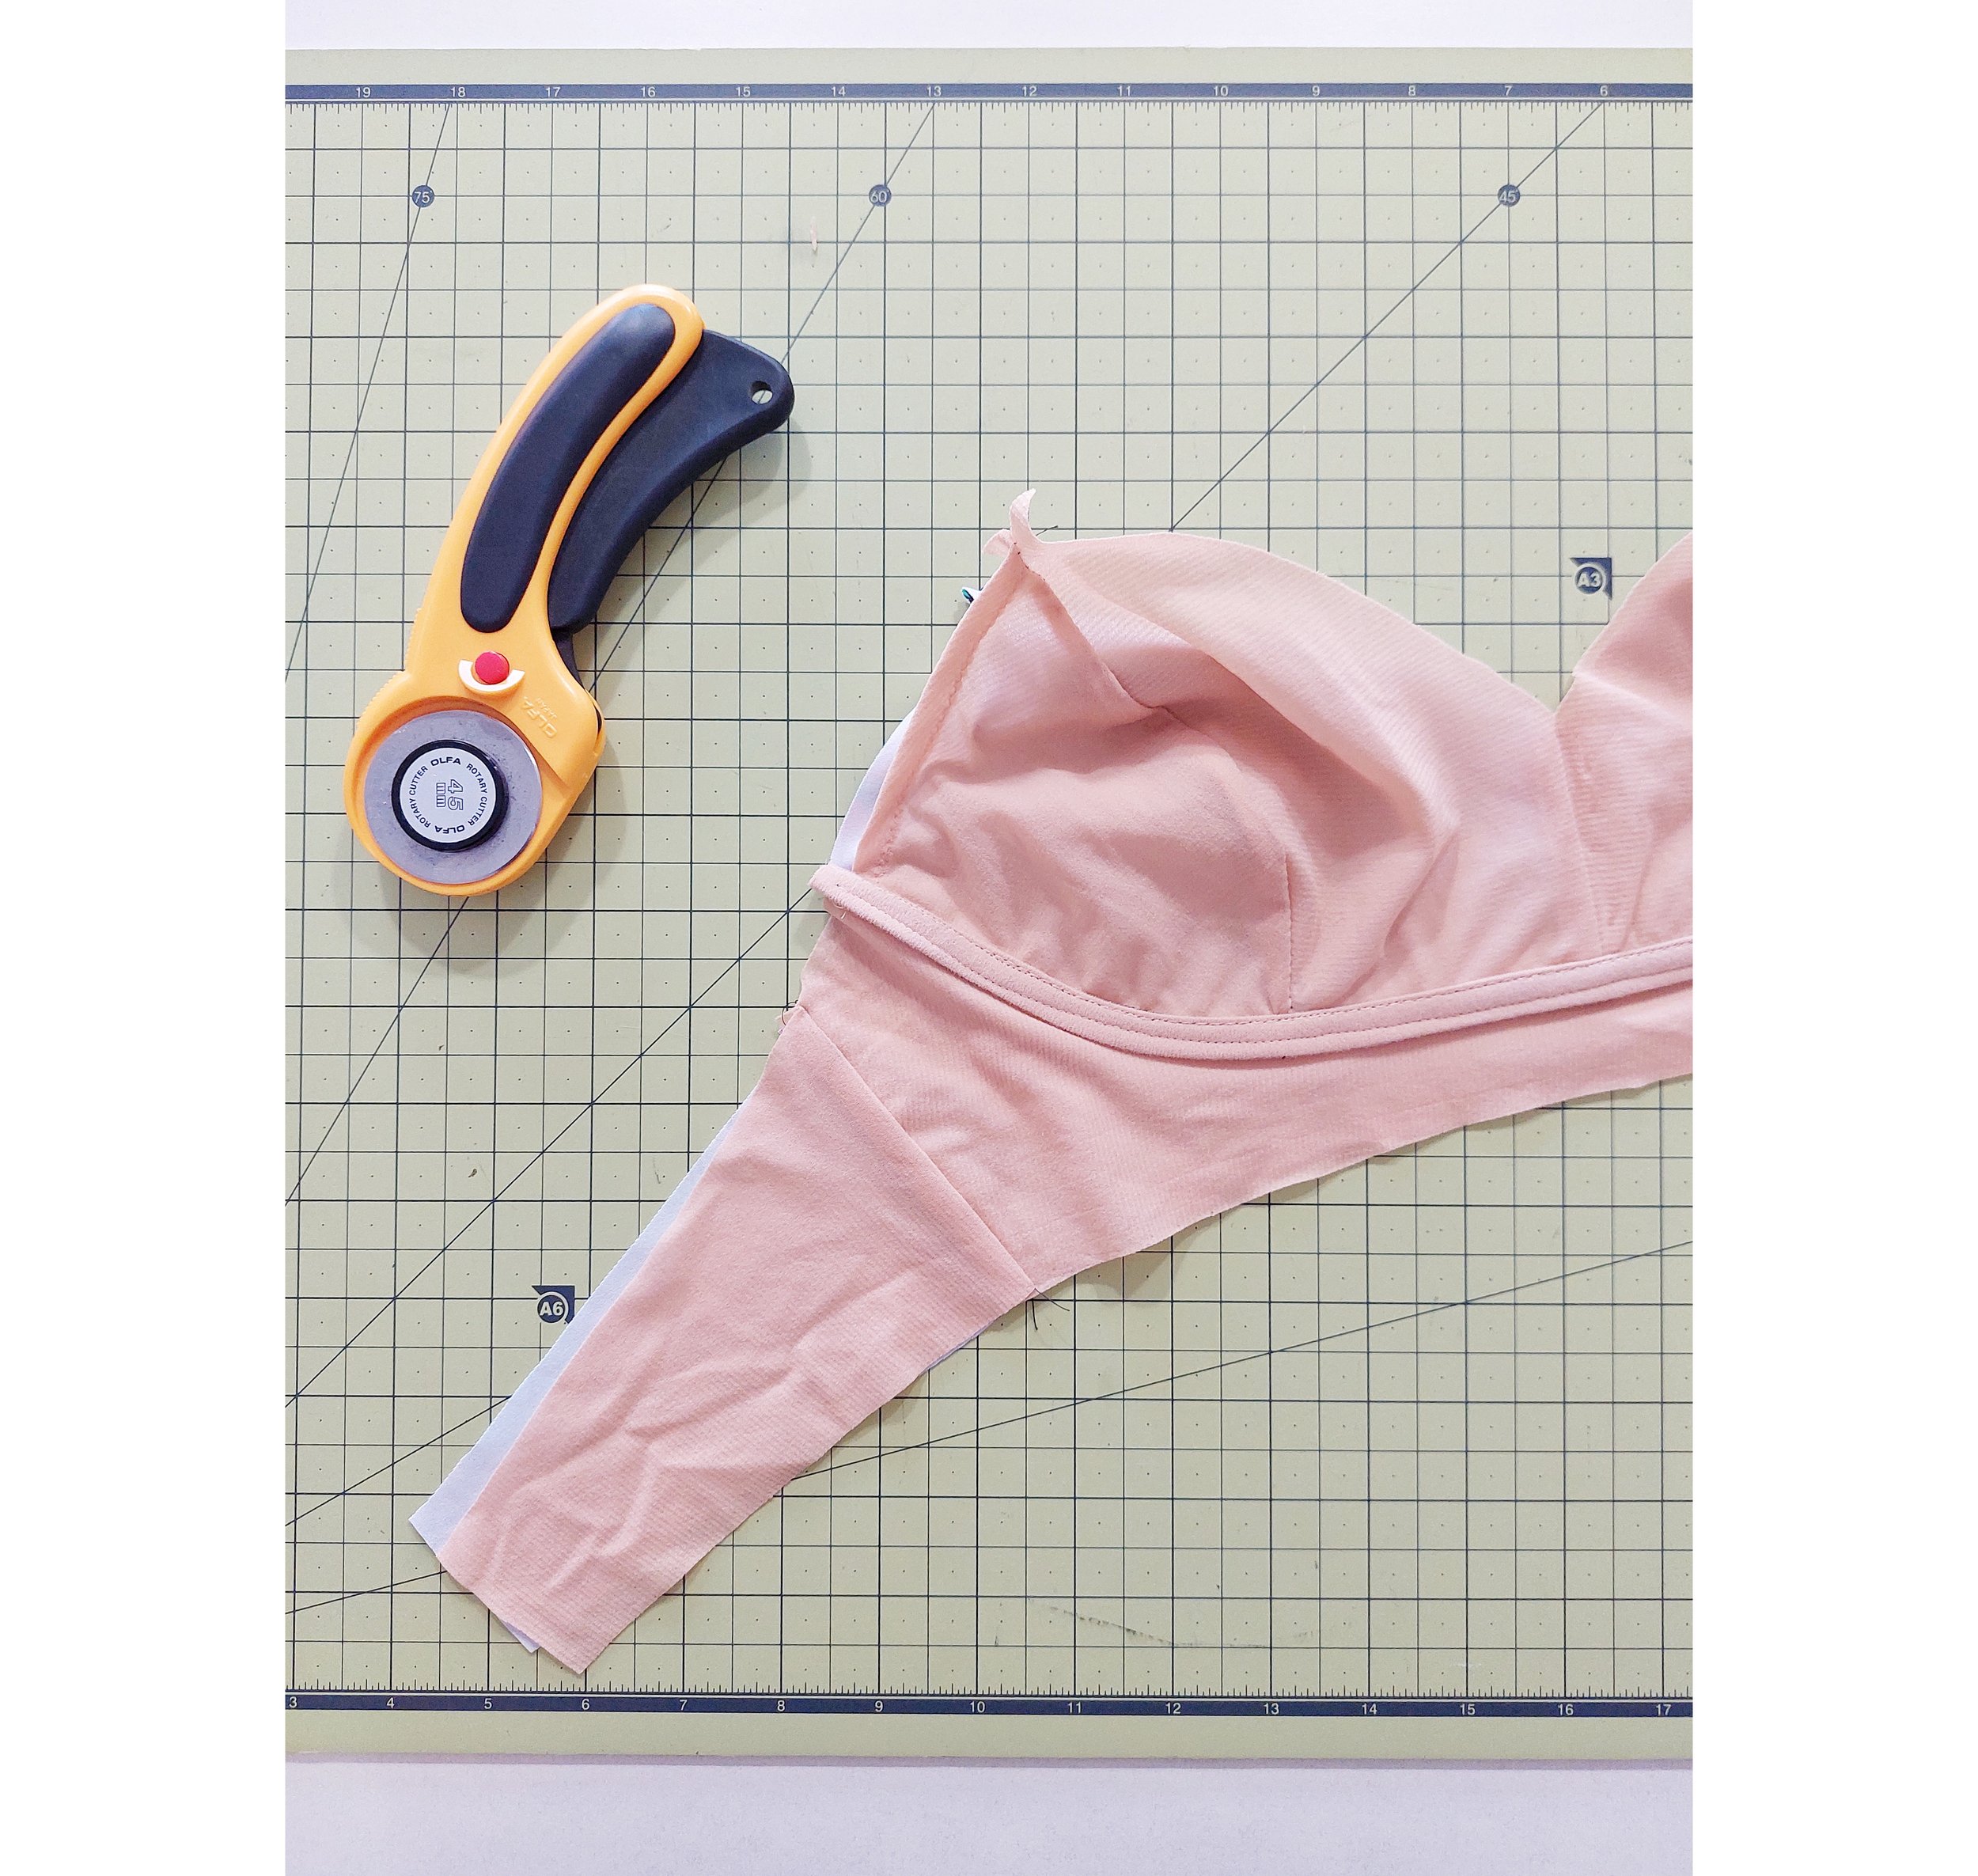
Now it’s time to add the binding with elastic to the lower part of the band. To do that, first sew the binding right sides together with the bikini like you did for the neckline. This time don’t pull the binding, just sew it to the hemline. Once you have binding sewn on, sew the swim elastic on top of the lining, slightly pulling it to create tension. Then fold the binding over the elastic and under the hemline and repeat the zig-zag the same way you did before.
You’ll now need to do the same with the underarm. First measure if your swim closure is the right width. When using binding it should measure the same as the band. If there’s excess fabric like in the photo, trim the band down to the width of the closure (do it gradually from the outer cup area). Then just repeat the same process. If like me you use the pocket option, make sure you’re not sewing on top of the pocket edge, push it away of the lycra layer both when you’re sewing the first and the second pass of the binding and elastic (it’s underneath and not so visible but if you’re careful you’ll avoid stitching on top of it and eventually closing the opening you need).
As I used a continuous strip of binding to directly form a strap, I just did the same thing there but continued sewing on top of the binding to form the strap part too.
And that’s it, you’re done! You can also use other types of straps, attaching straps with rings instead of doing the continuous binding like I did…and so many more things! I hope this tutorial was useful, happy summer and happy swimwear making!
Discover my ebook about sewing lingerie
10 illustrated sewing tutorials that will teach you new techniques and inspire you to get creating!
Find the rest of the lingerie sewing tutorials here and sign up for online courses to learn more about lingerie and swimwear!

